
When I made the first Willowy Being, I’d been given permission to make a second one. I’d held off making the second one for a variety of reasons. It wasn’t until I was most of the way through Zombie Sam – Full Color, that I thought I’d take my last crack at working with Norman Reedus‘s work. My skill set and style had really come a long way since 2011. I was getting more comfortable with it, and it was time to do this again.
At the time, I didn’t know if I could do any better than this. I really didn’t think I could.

But I was game to try.
The first thing I did was to adjust my photo editing filters. I wanted more detail and higher level of intensity. I knew this would mean more work, and I was prepared for that. Since this was my piece to keep, I wanted to push myself as far as I thought I could. I could experiment a little, try new techniques, maybe even come up with a couple more.
I figured making this version was going to take about two months, from start to finish. Heh. Little did I know that Life has a way of making fools of us all. In truth, this version took about 6 months, from start to finish. On the upside, I’m really pleased with the end result.
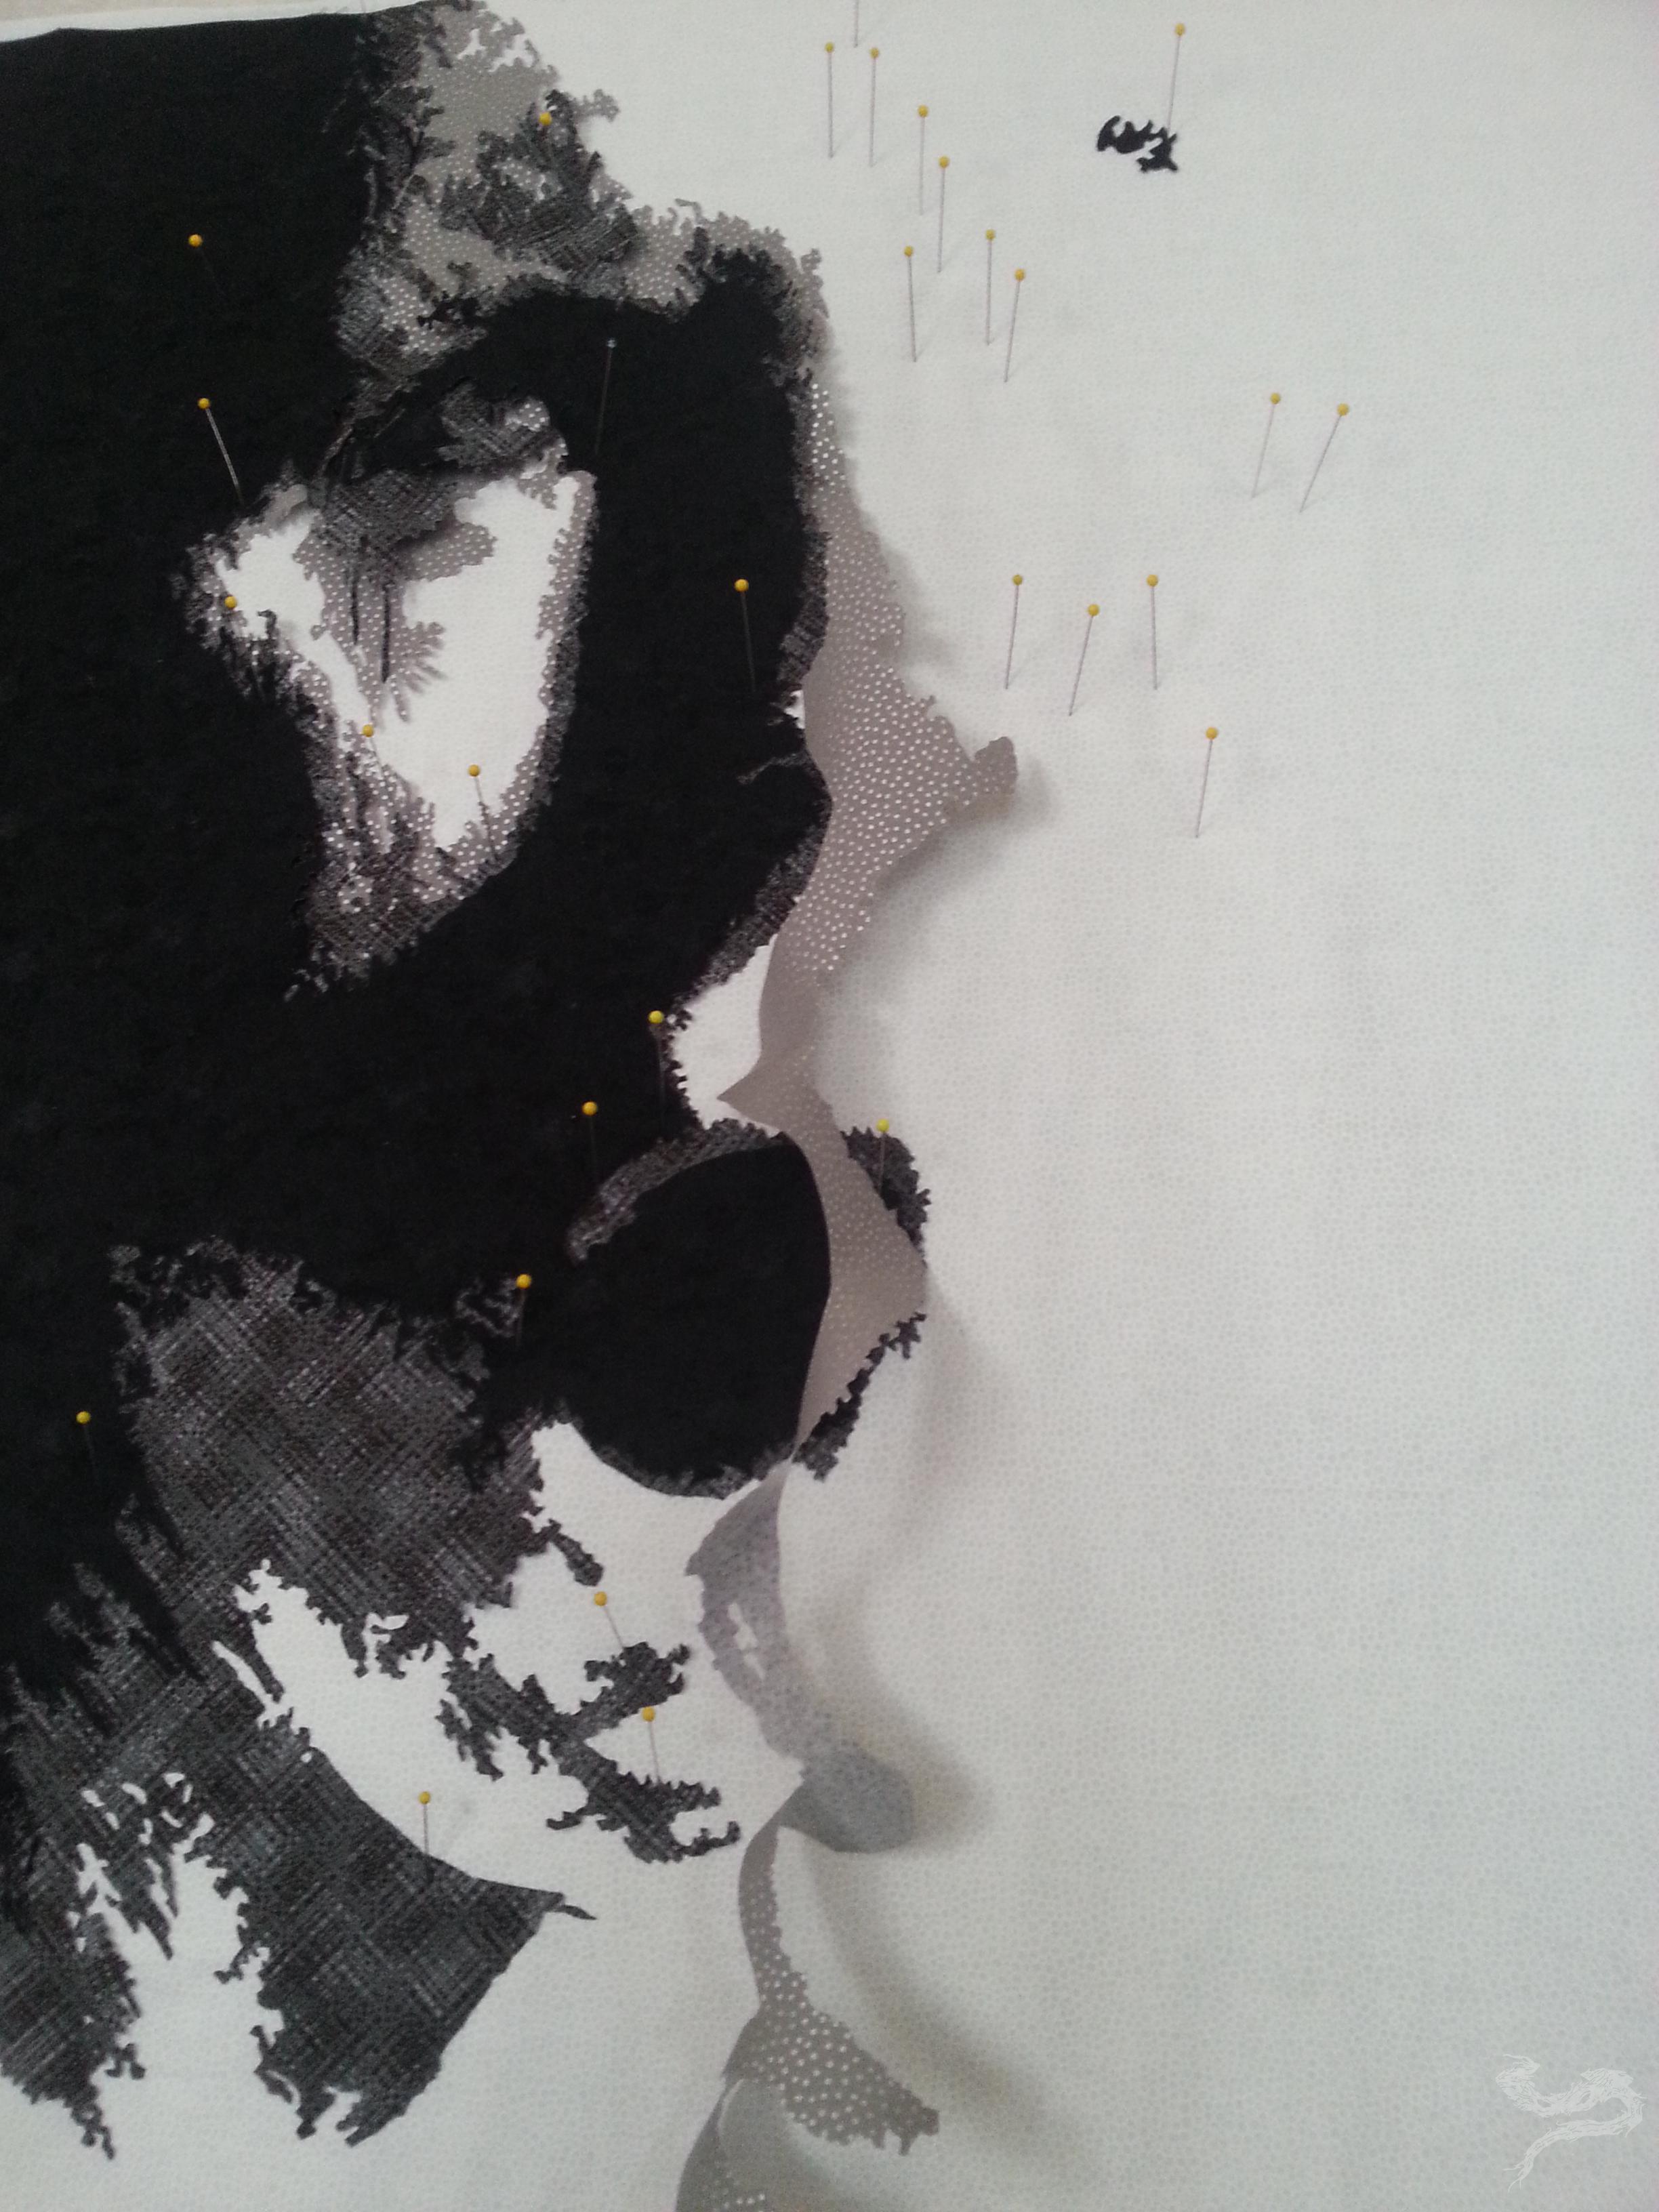
I do get asked, frequently, how do I make these kinds of quilts. It’s a bunch of cutting snippets, fiddley pieces, and fudging things together and overlapping. Making quilts like these requires time. Cutting the pieces all by hand requires time. There’s no die-cutting, there’s no “speed cutting” (because of all the random shapes and sizes), and everything is made one at a time.  See what I mean? That particular piece was part of the throat section on this overall chunk of fabric.
As you can see, even with the first dark fabric going up on my design wall, I had made some very serious changes from the first version. Layer by layer, piece by piece, this version was going to be drastically different. 
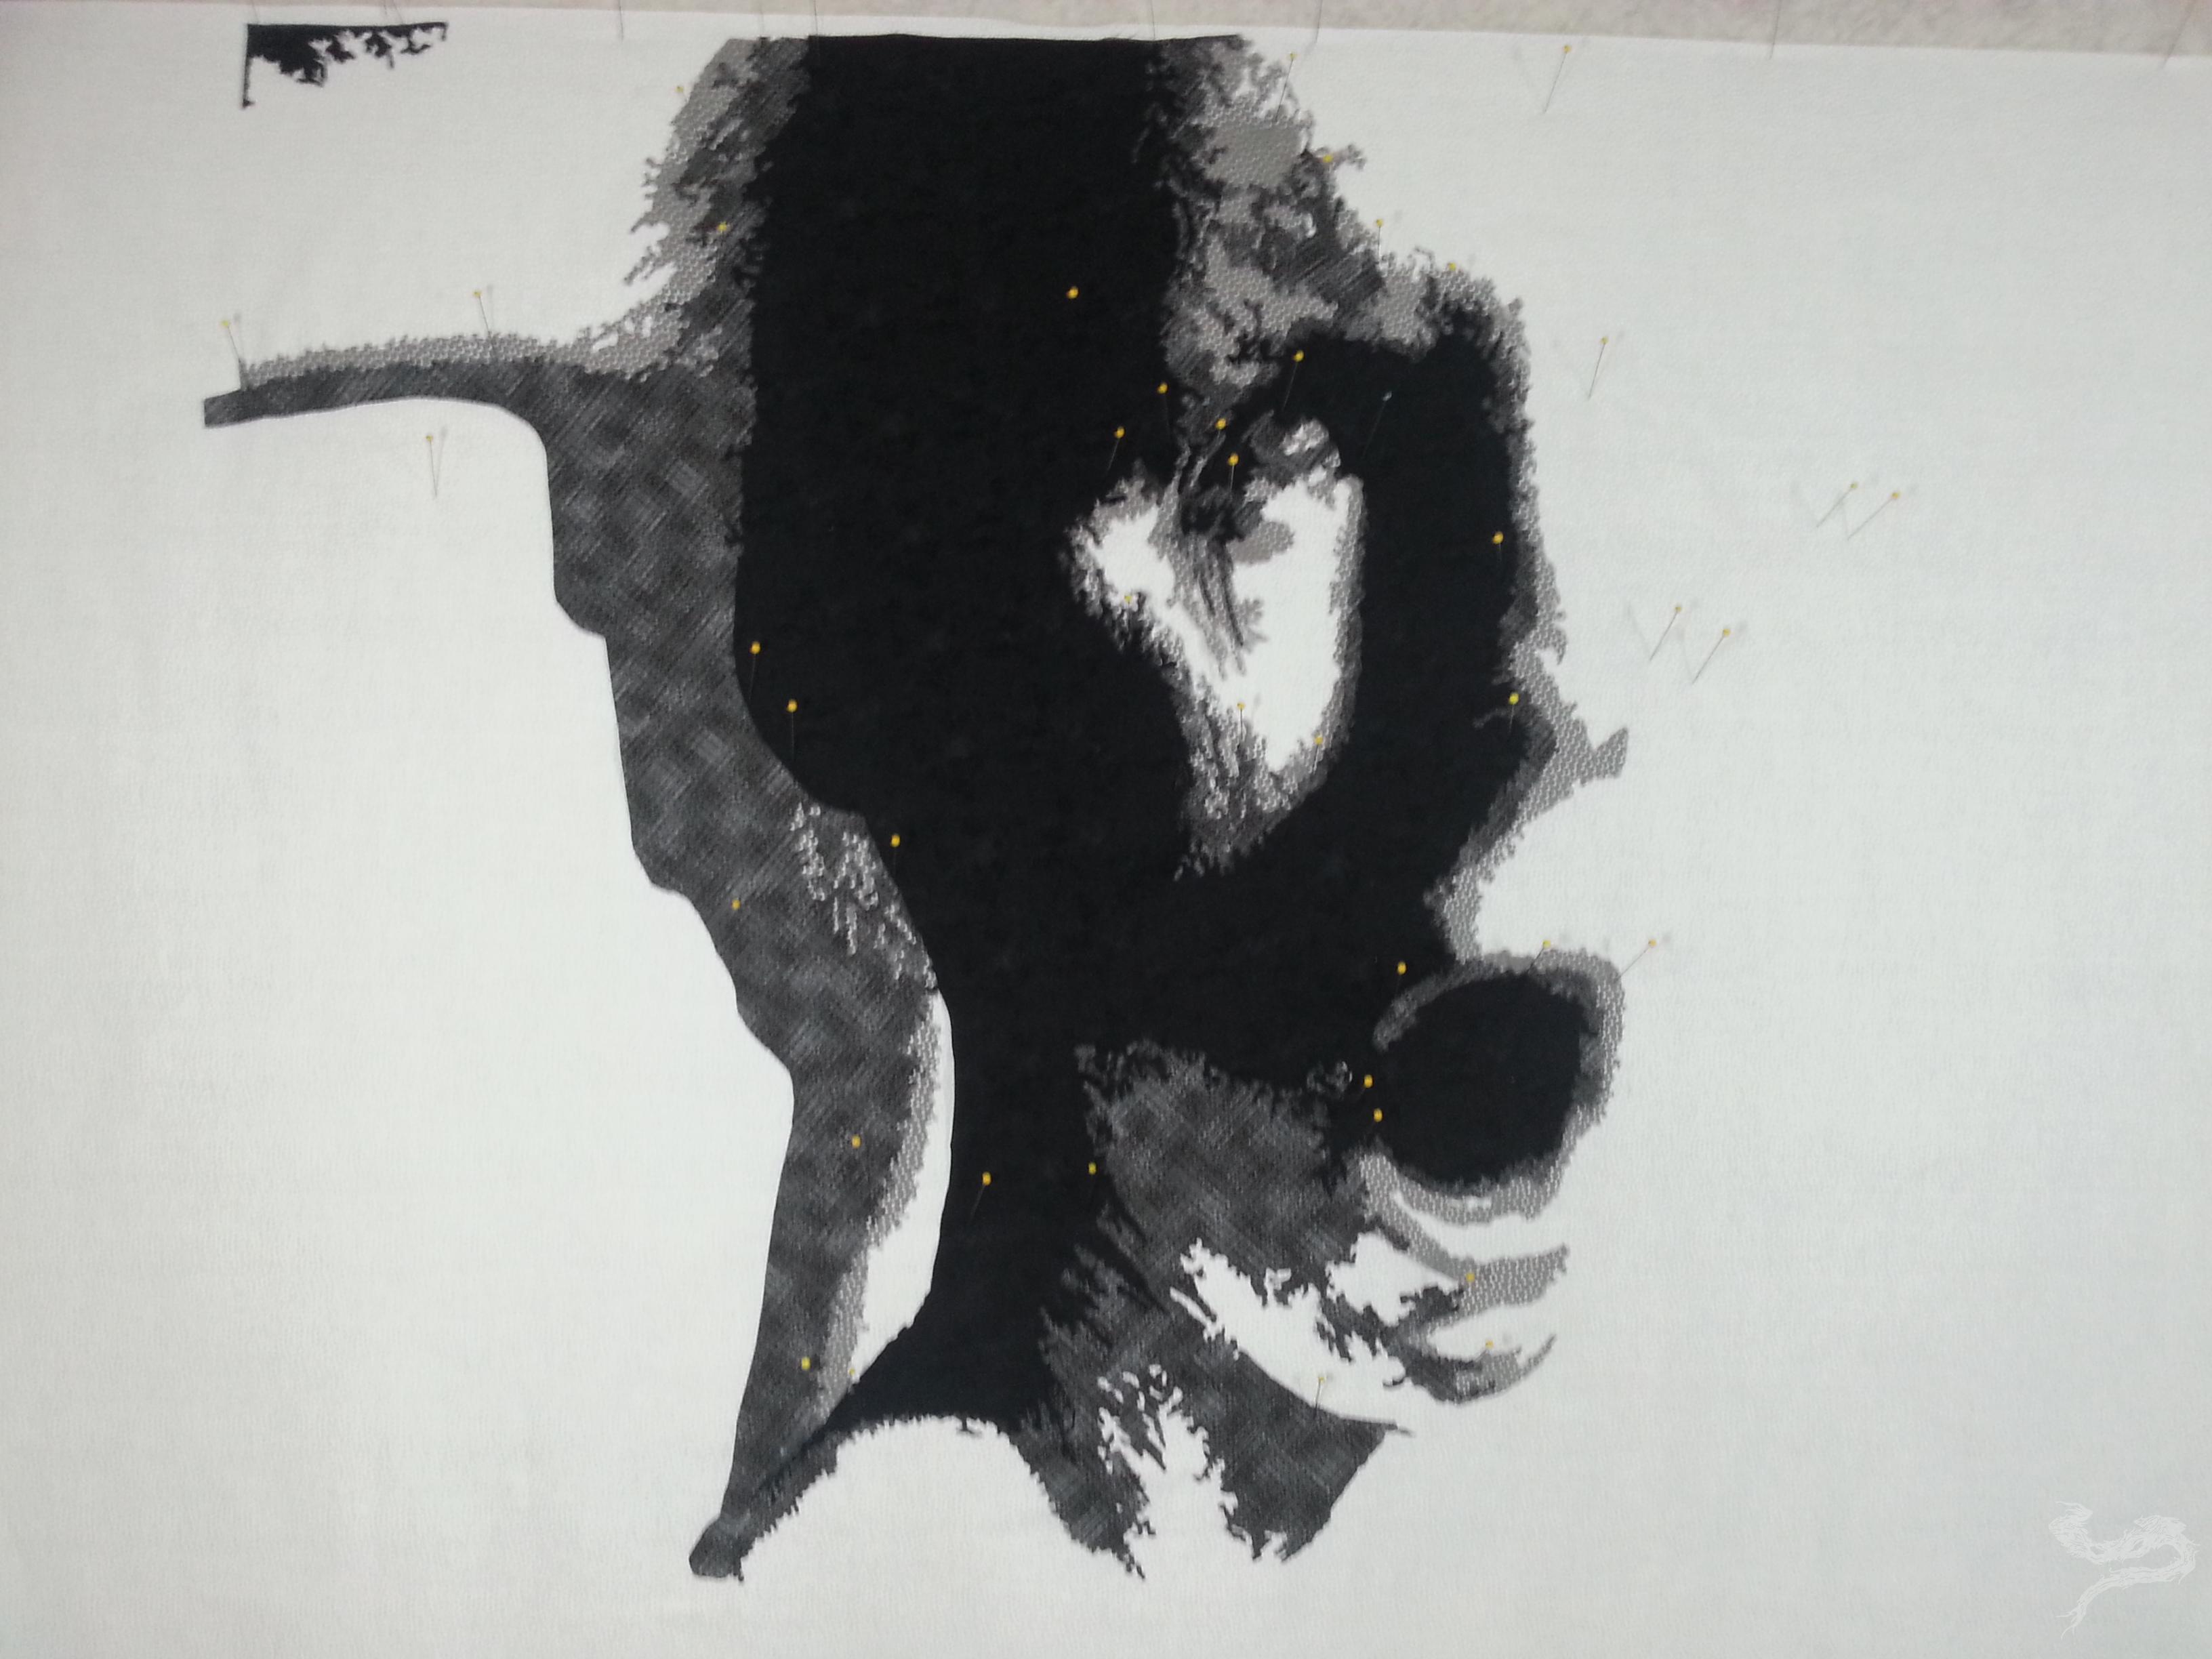
Getting the pieces into place, as I’d learned from the Zombie Sam quilts, was a lot easier when you have reference points and built-in guides. Especially, when you’re working on something like this scattered over more time than you’d originally thought.
How long did this quilt take to make? I have no idea. I didn’t track my actual work time on it. I do know that this particular black piece of fabric took me about 5 hours to cut out. 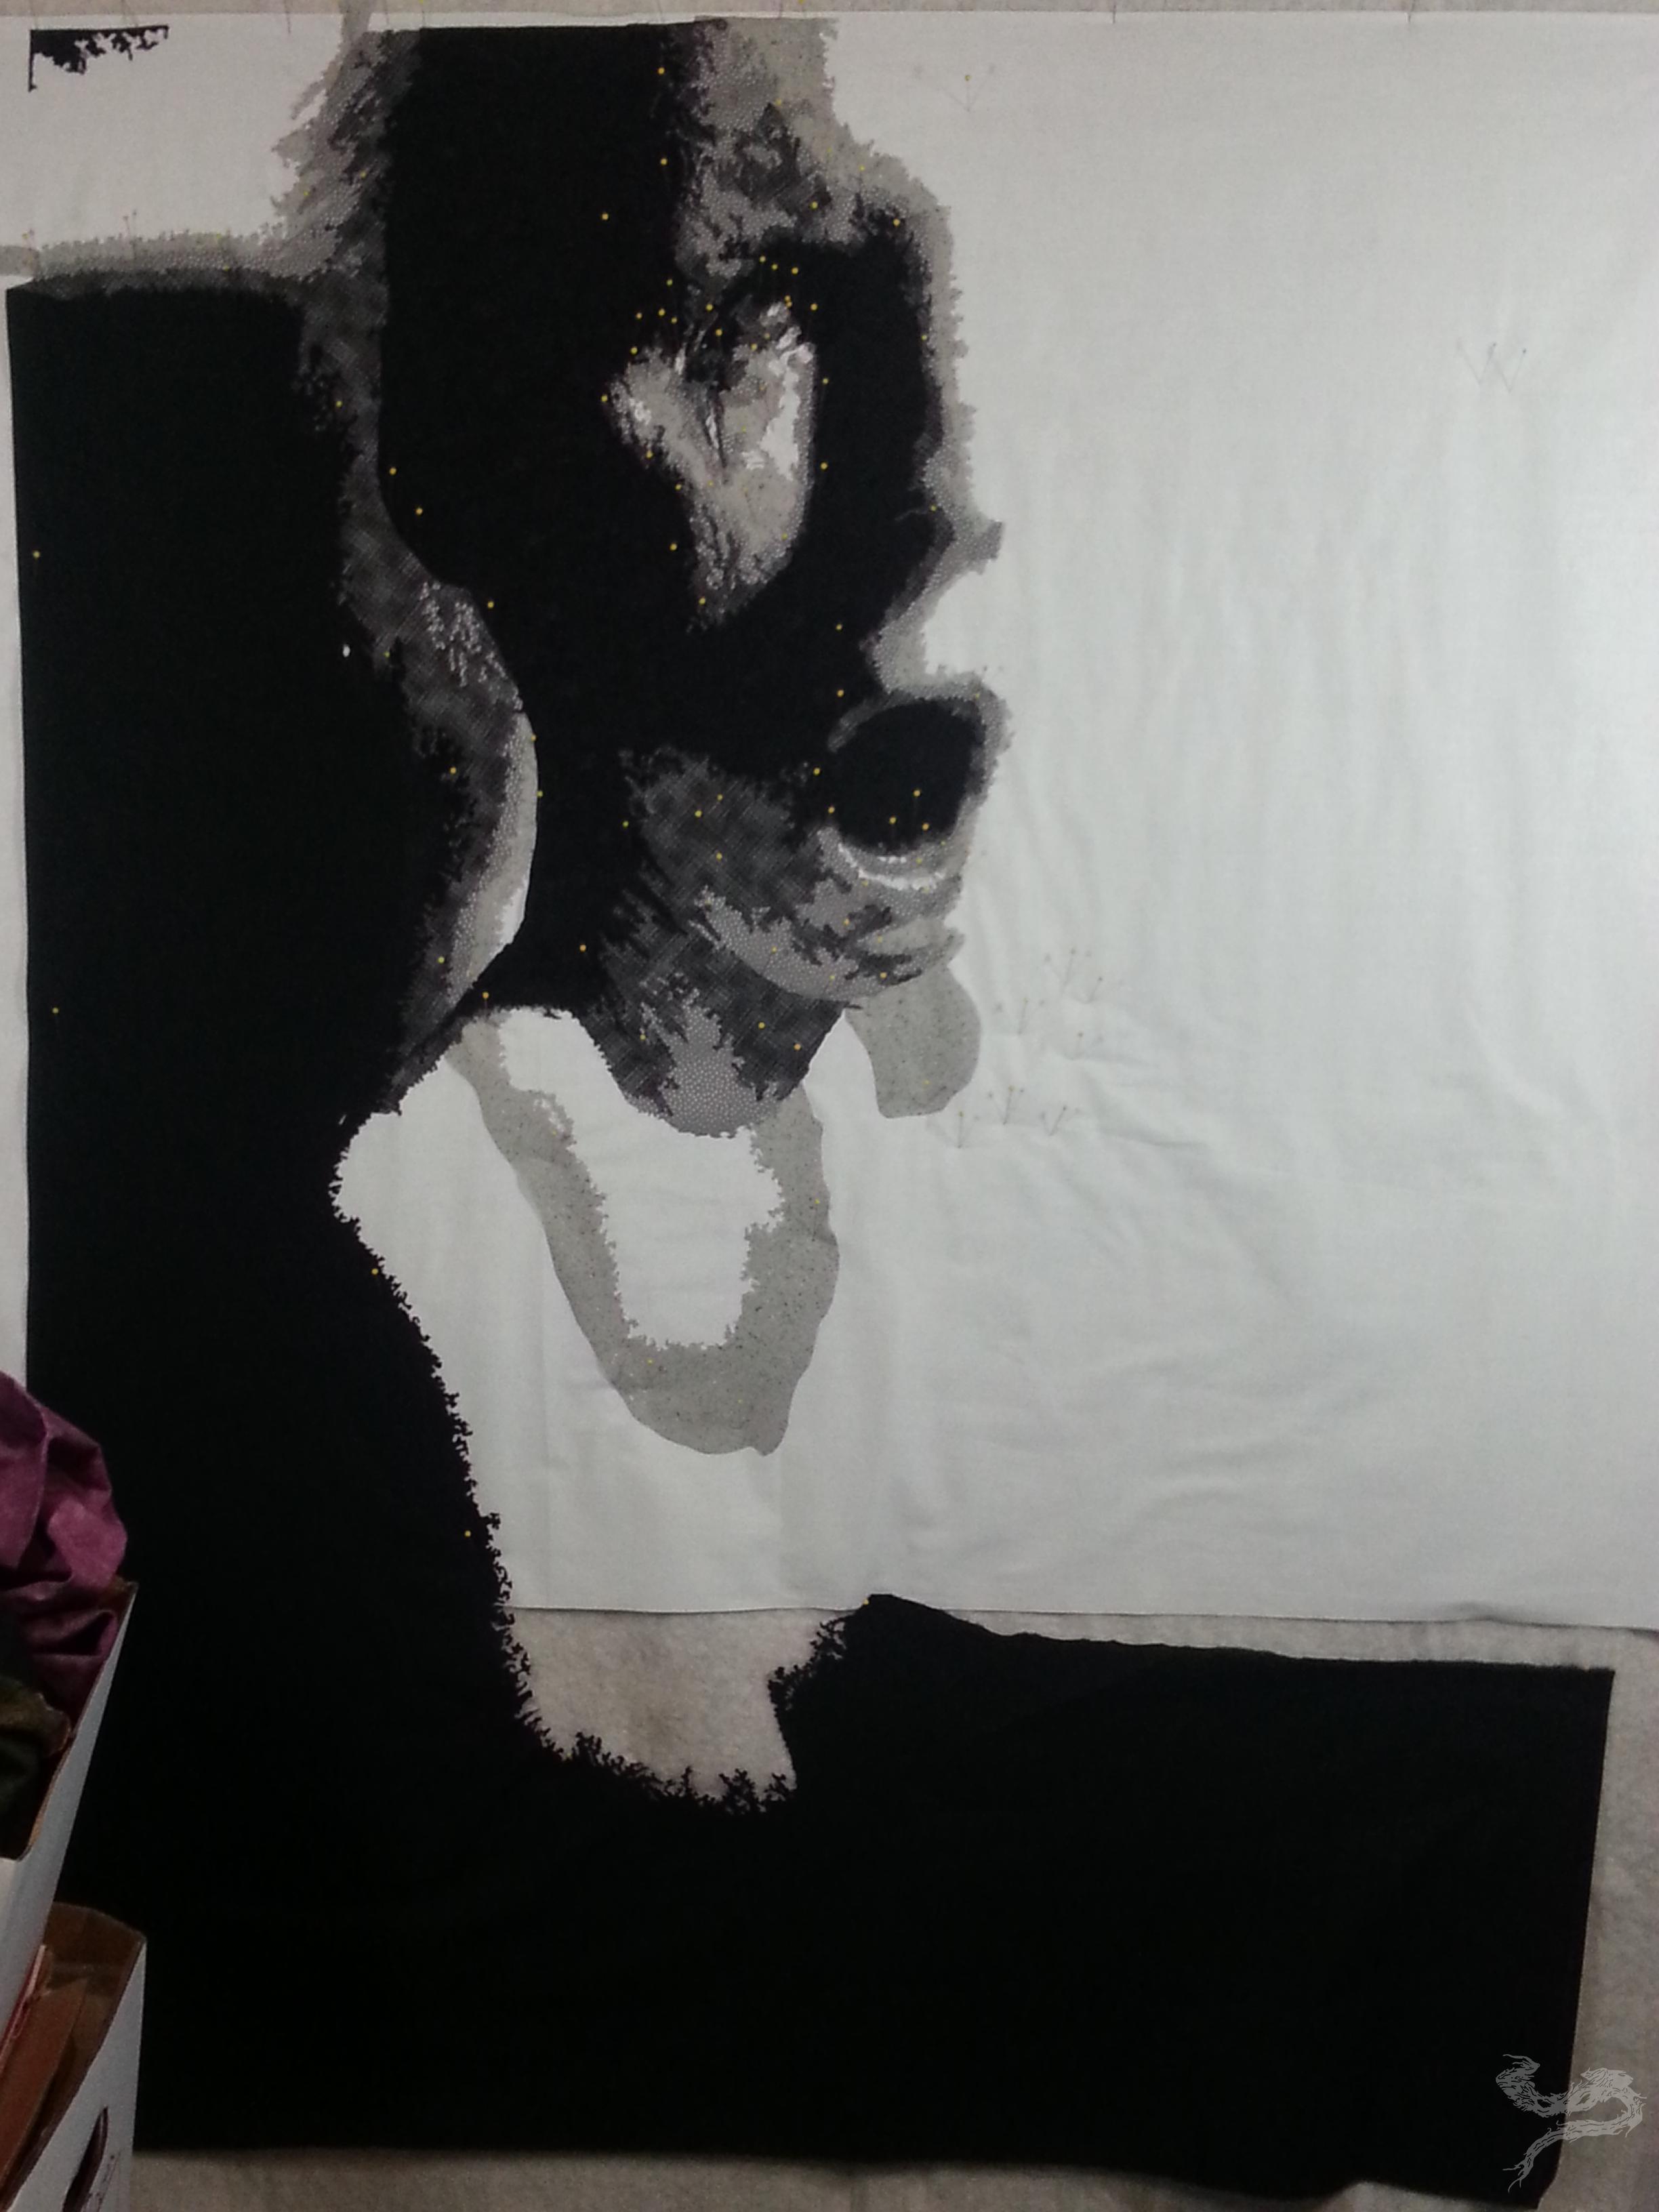
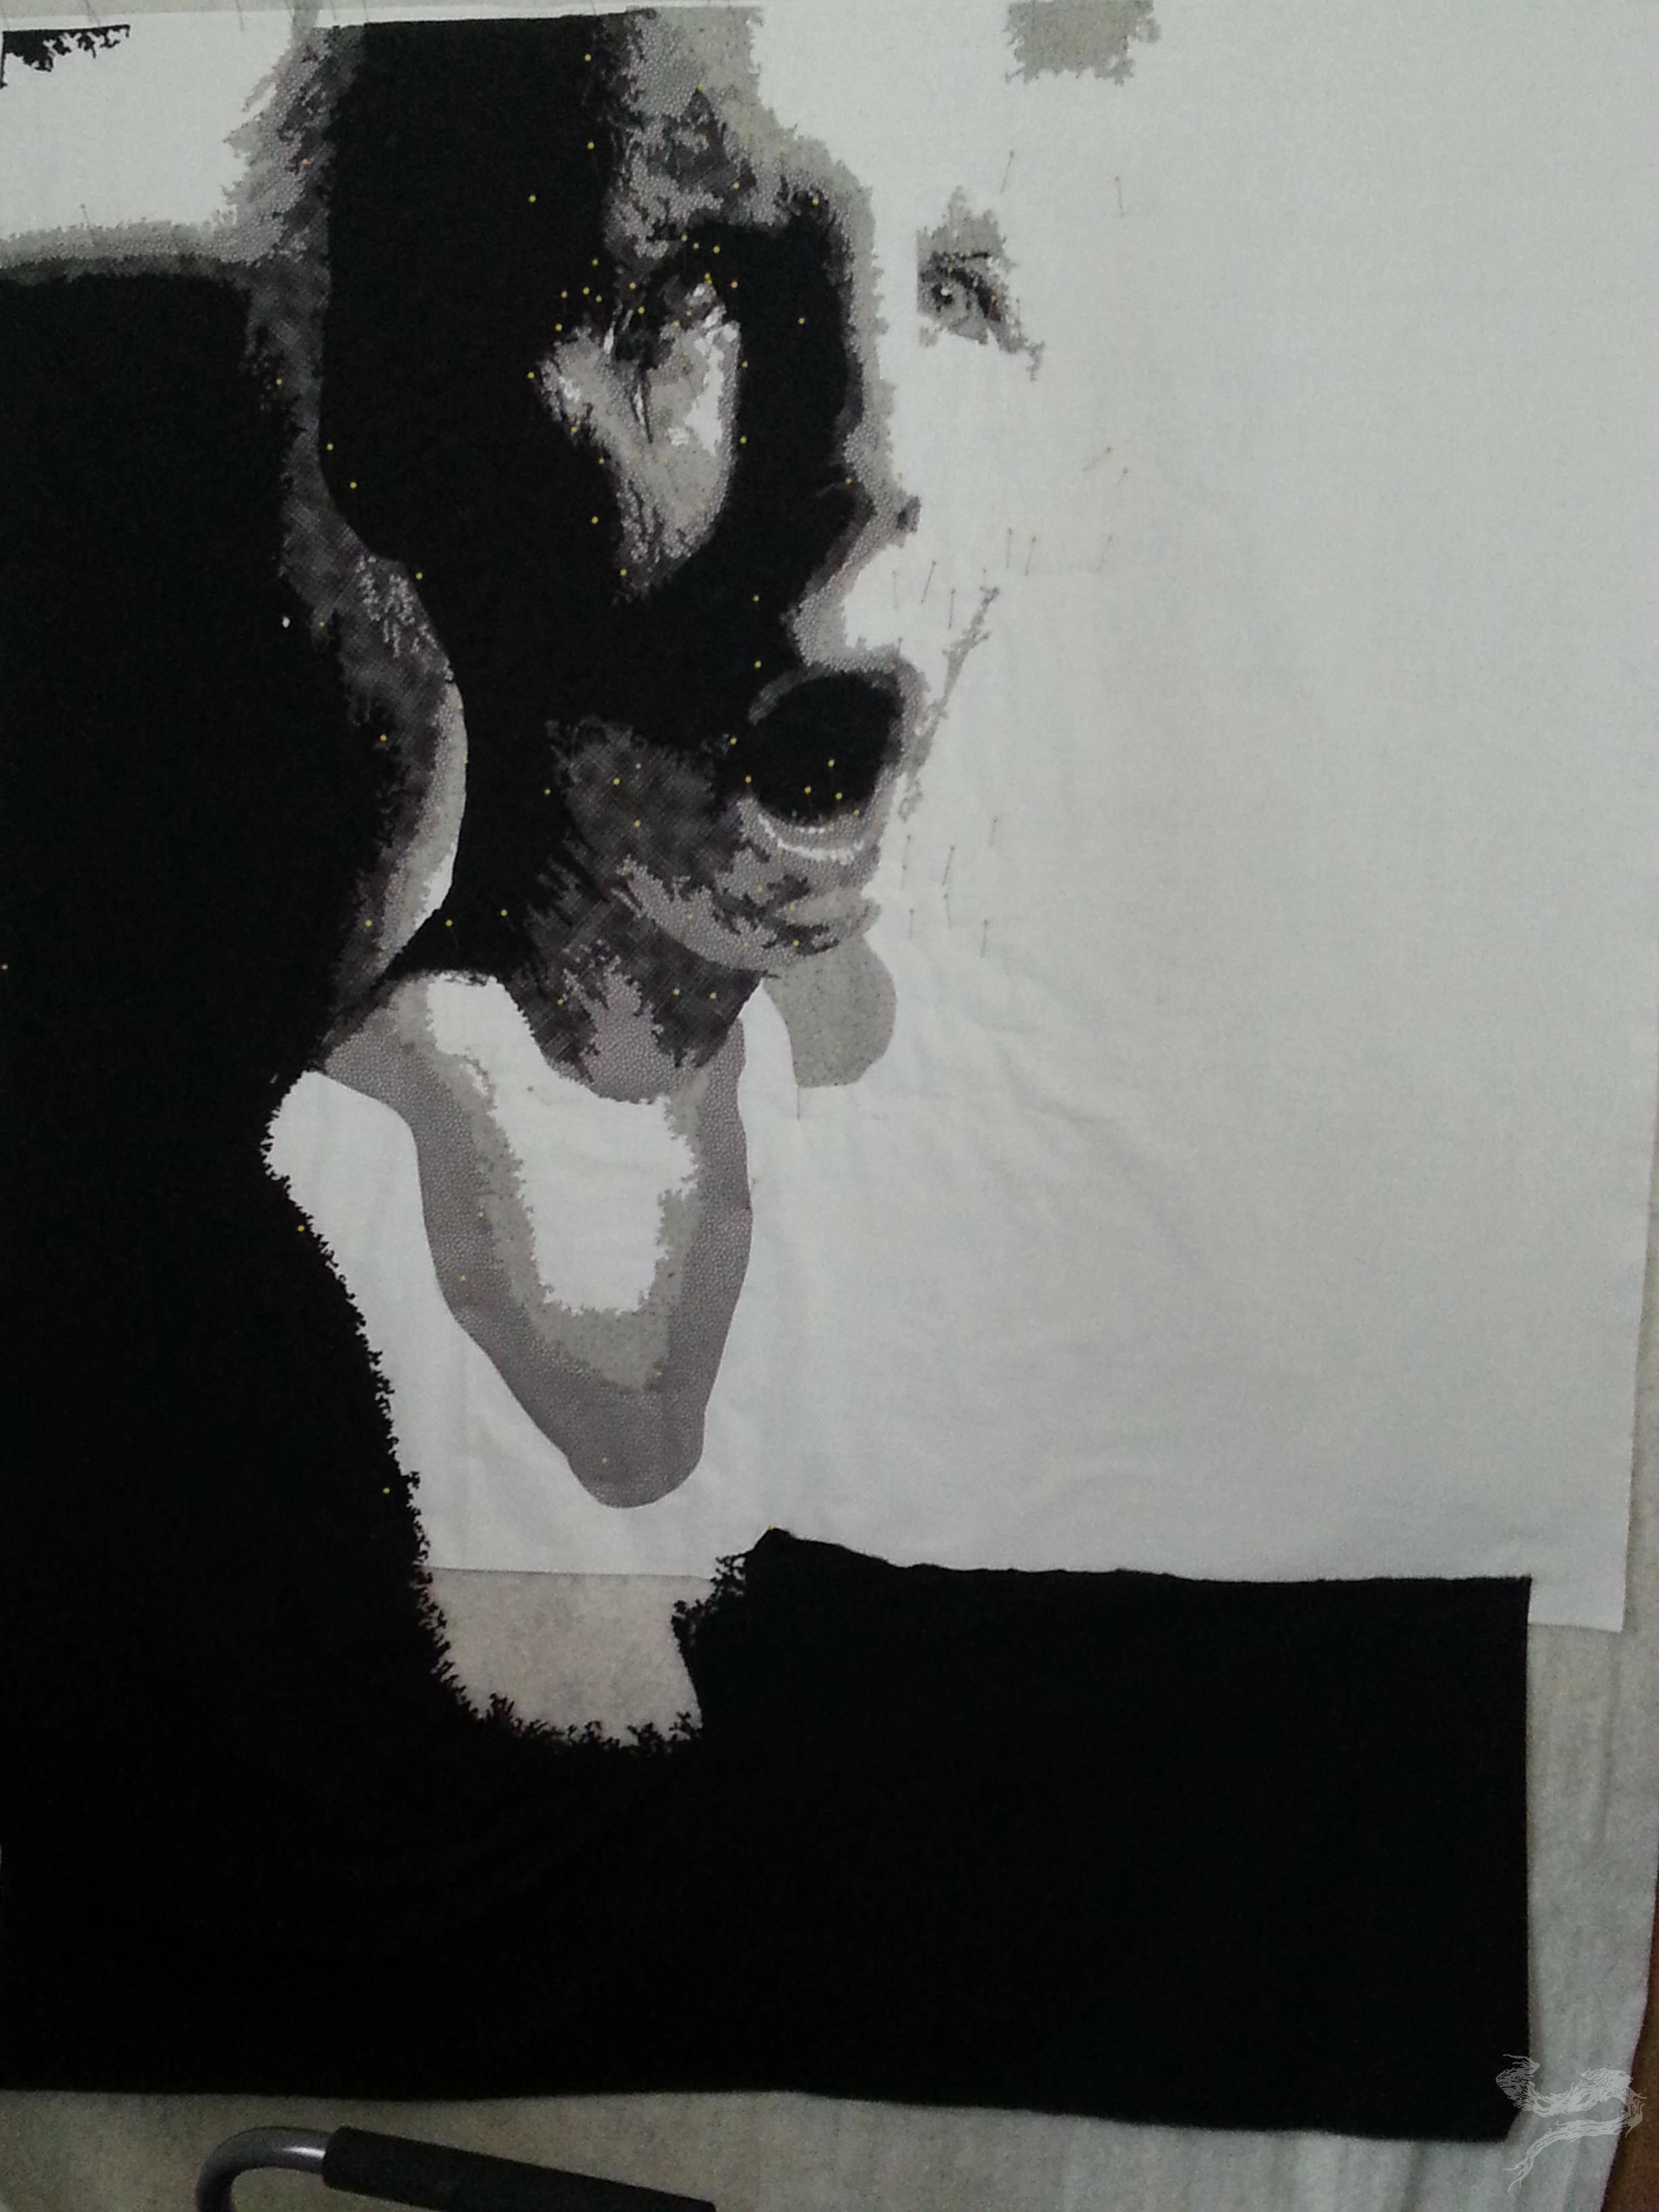
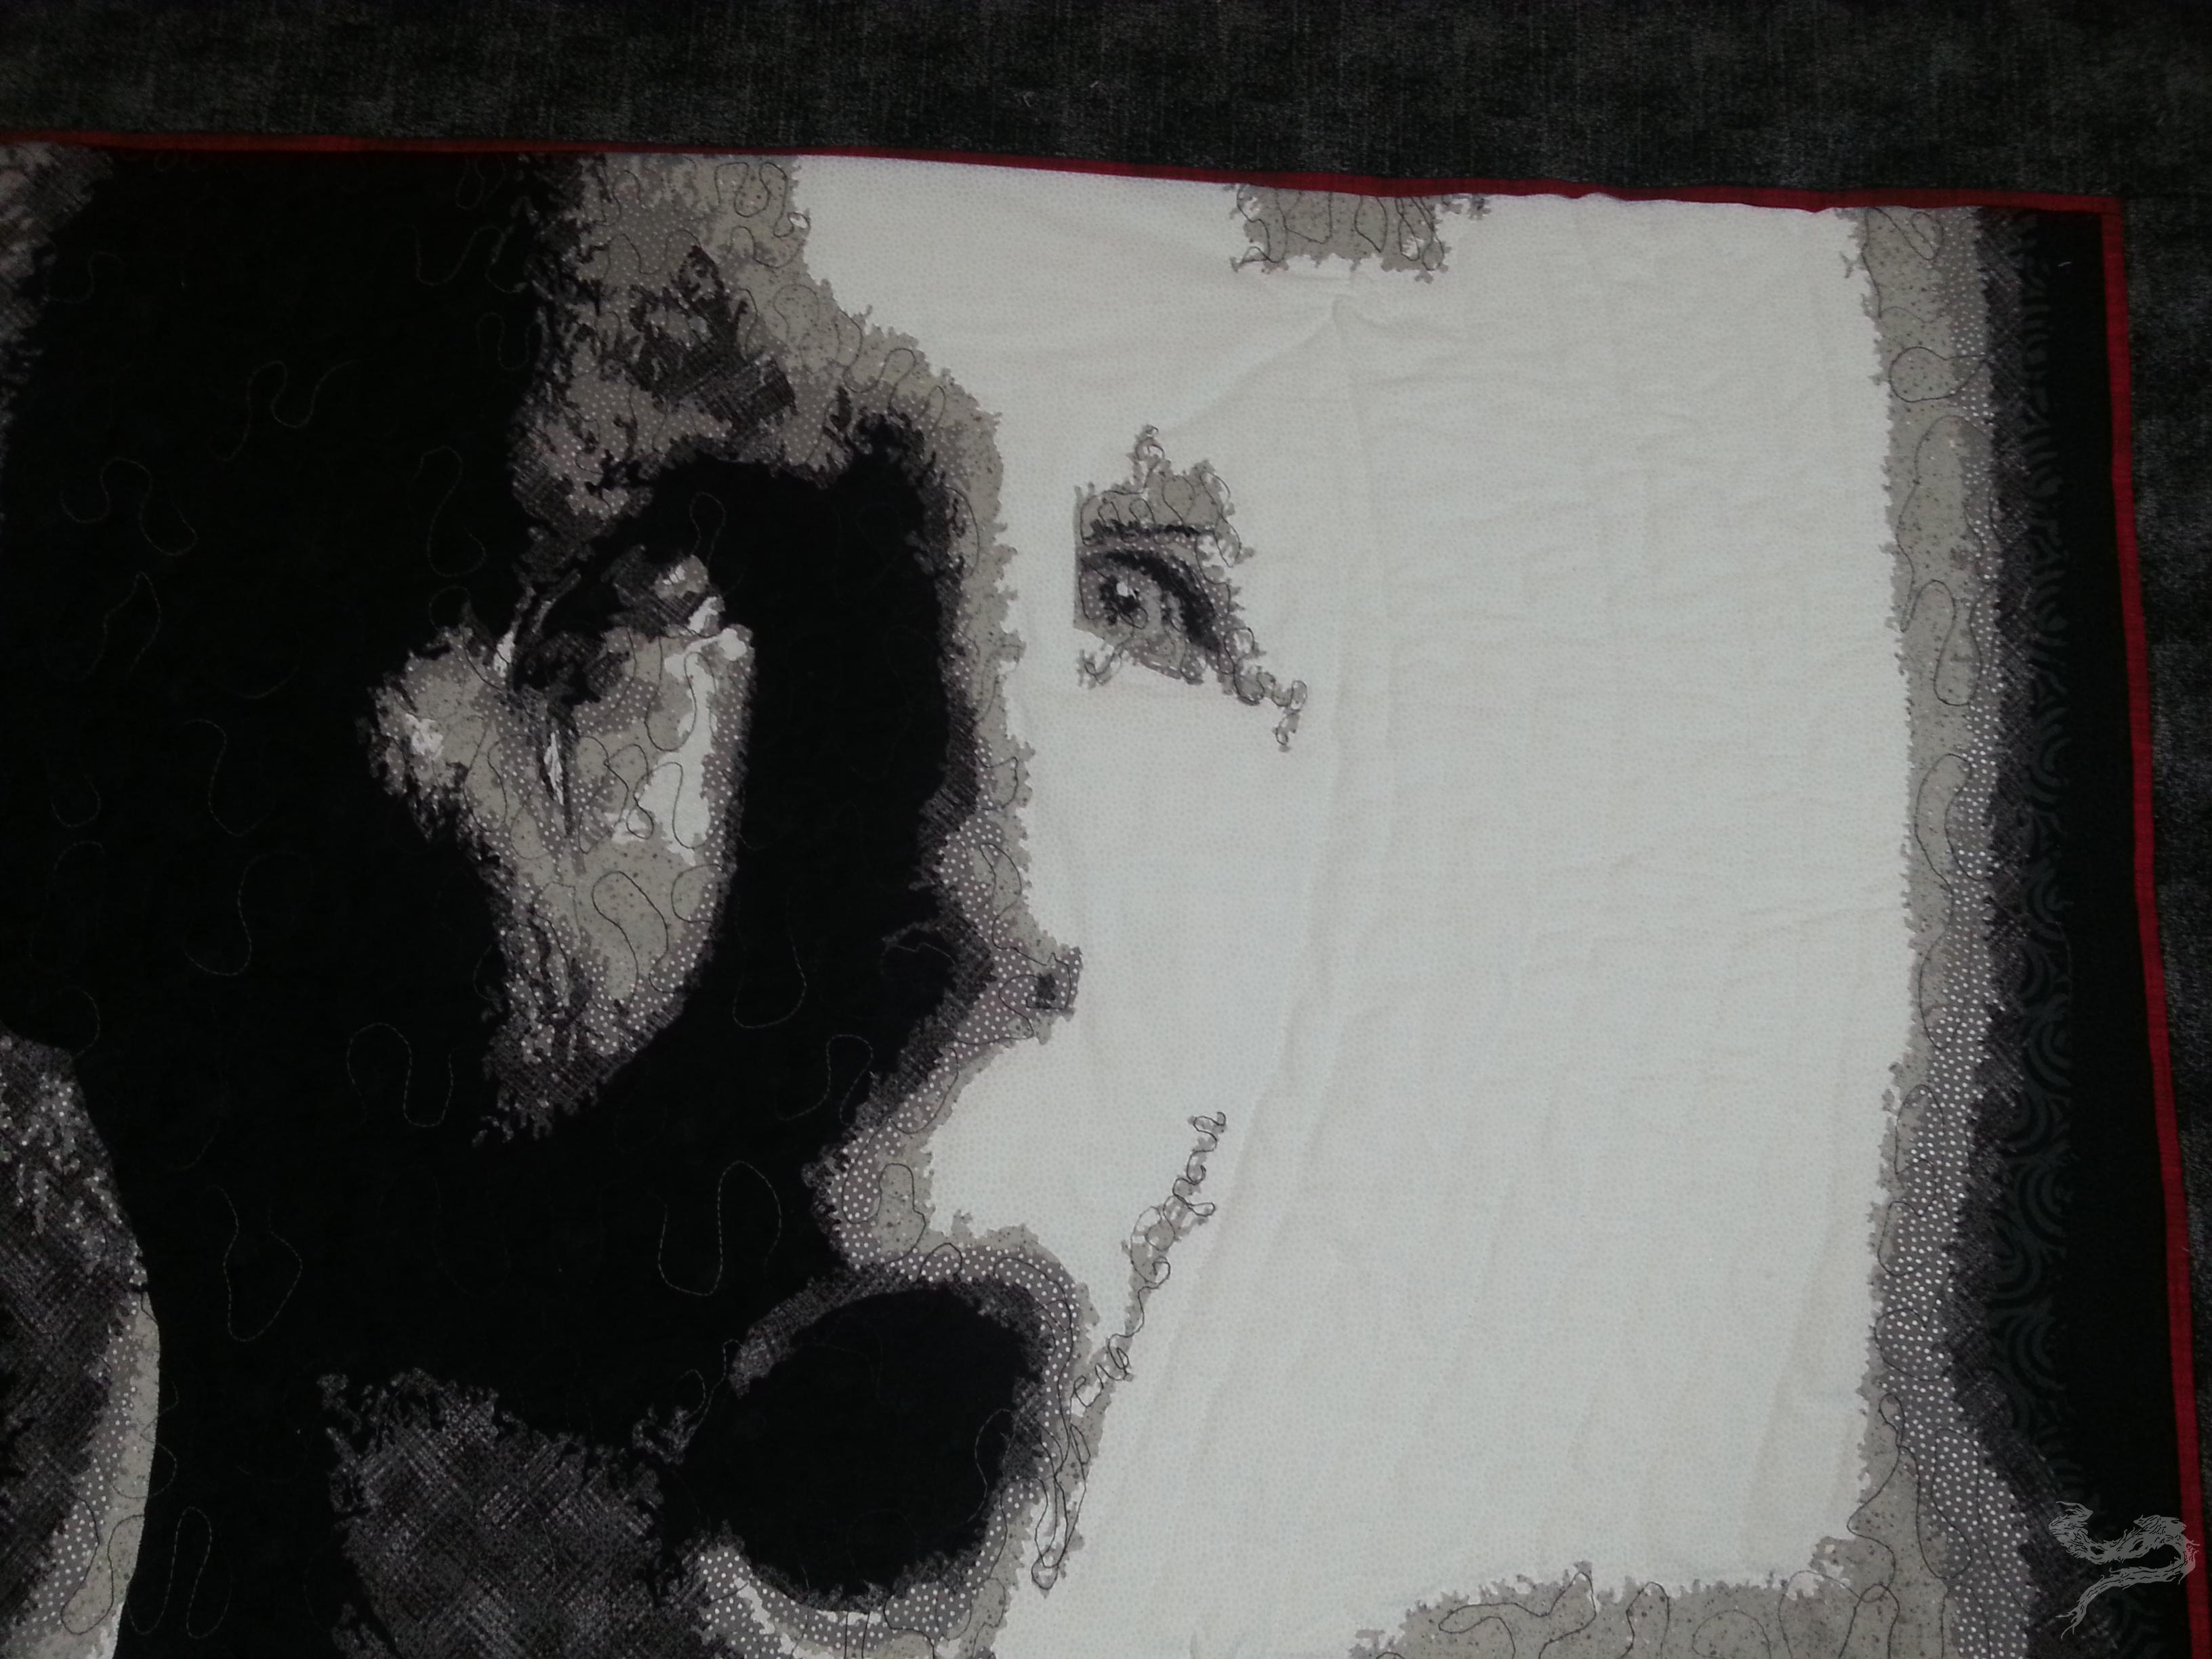
As with the first version, I had the most fun playing with the eyes. For some reason, I can make those work out fairly well. See what I mean? Up close, it doesn’t seem like much. Back up a couple three feet, and look what happens… 
It’s creepy as heck. And I loved it!! Of course, as a hat-tip to the previous version, and for a bit of fun, I had to recreate the photo of the first version that still makes me laugh. 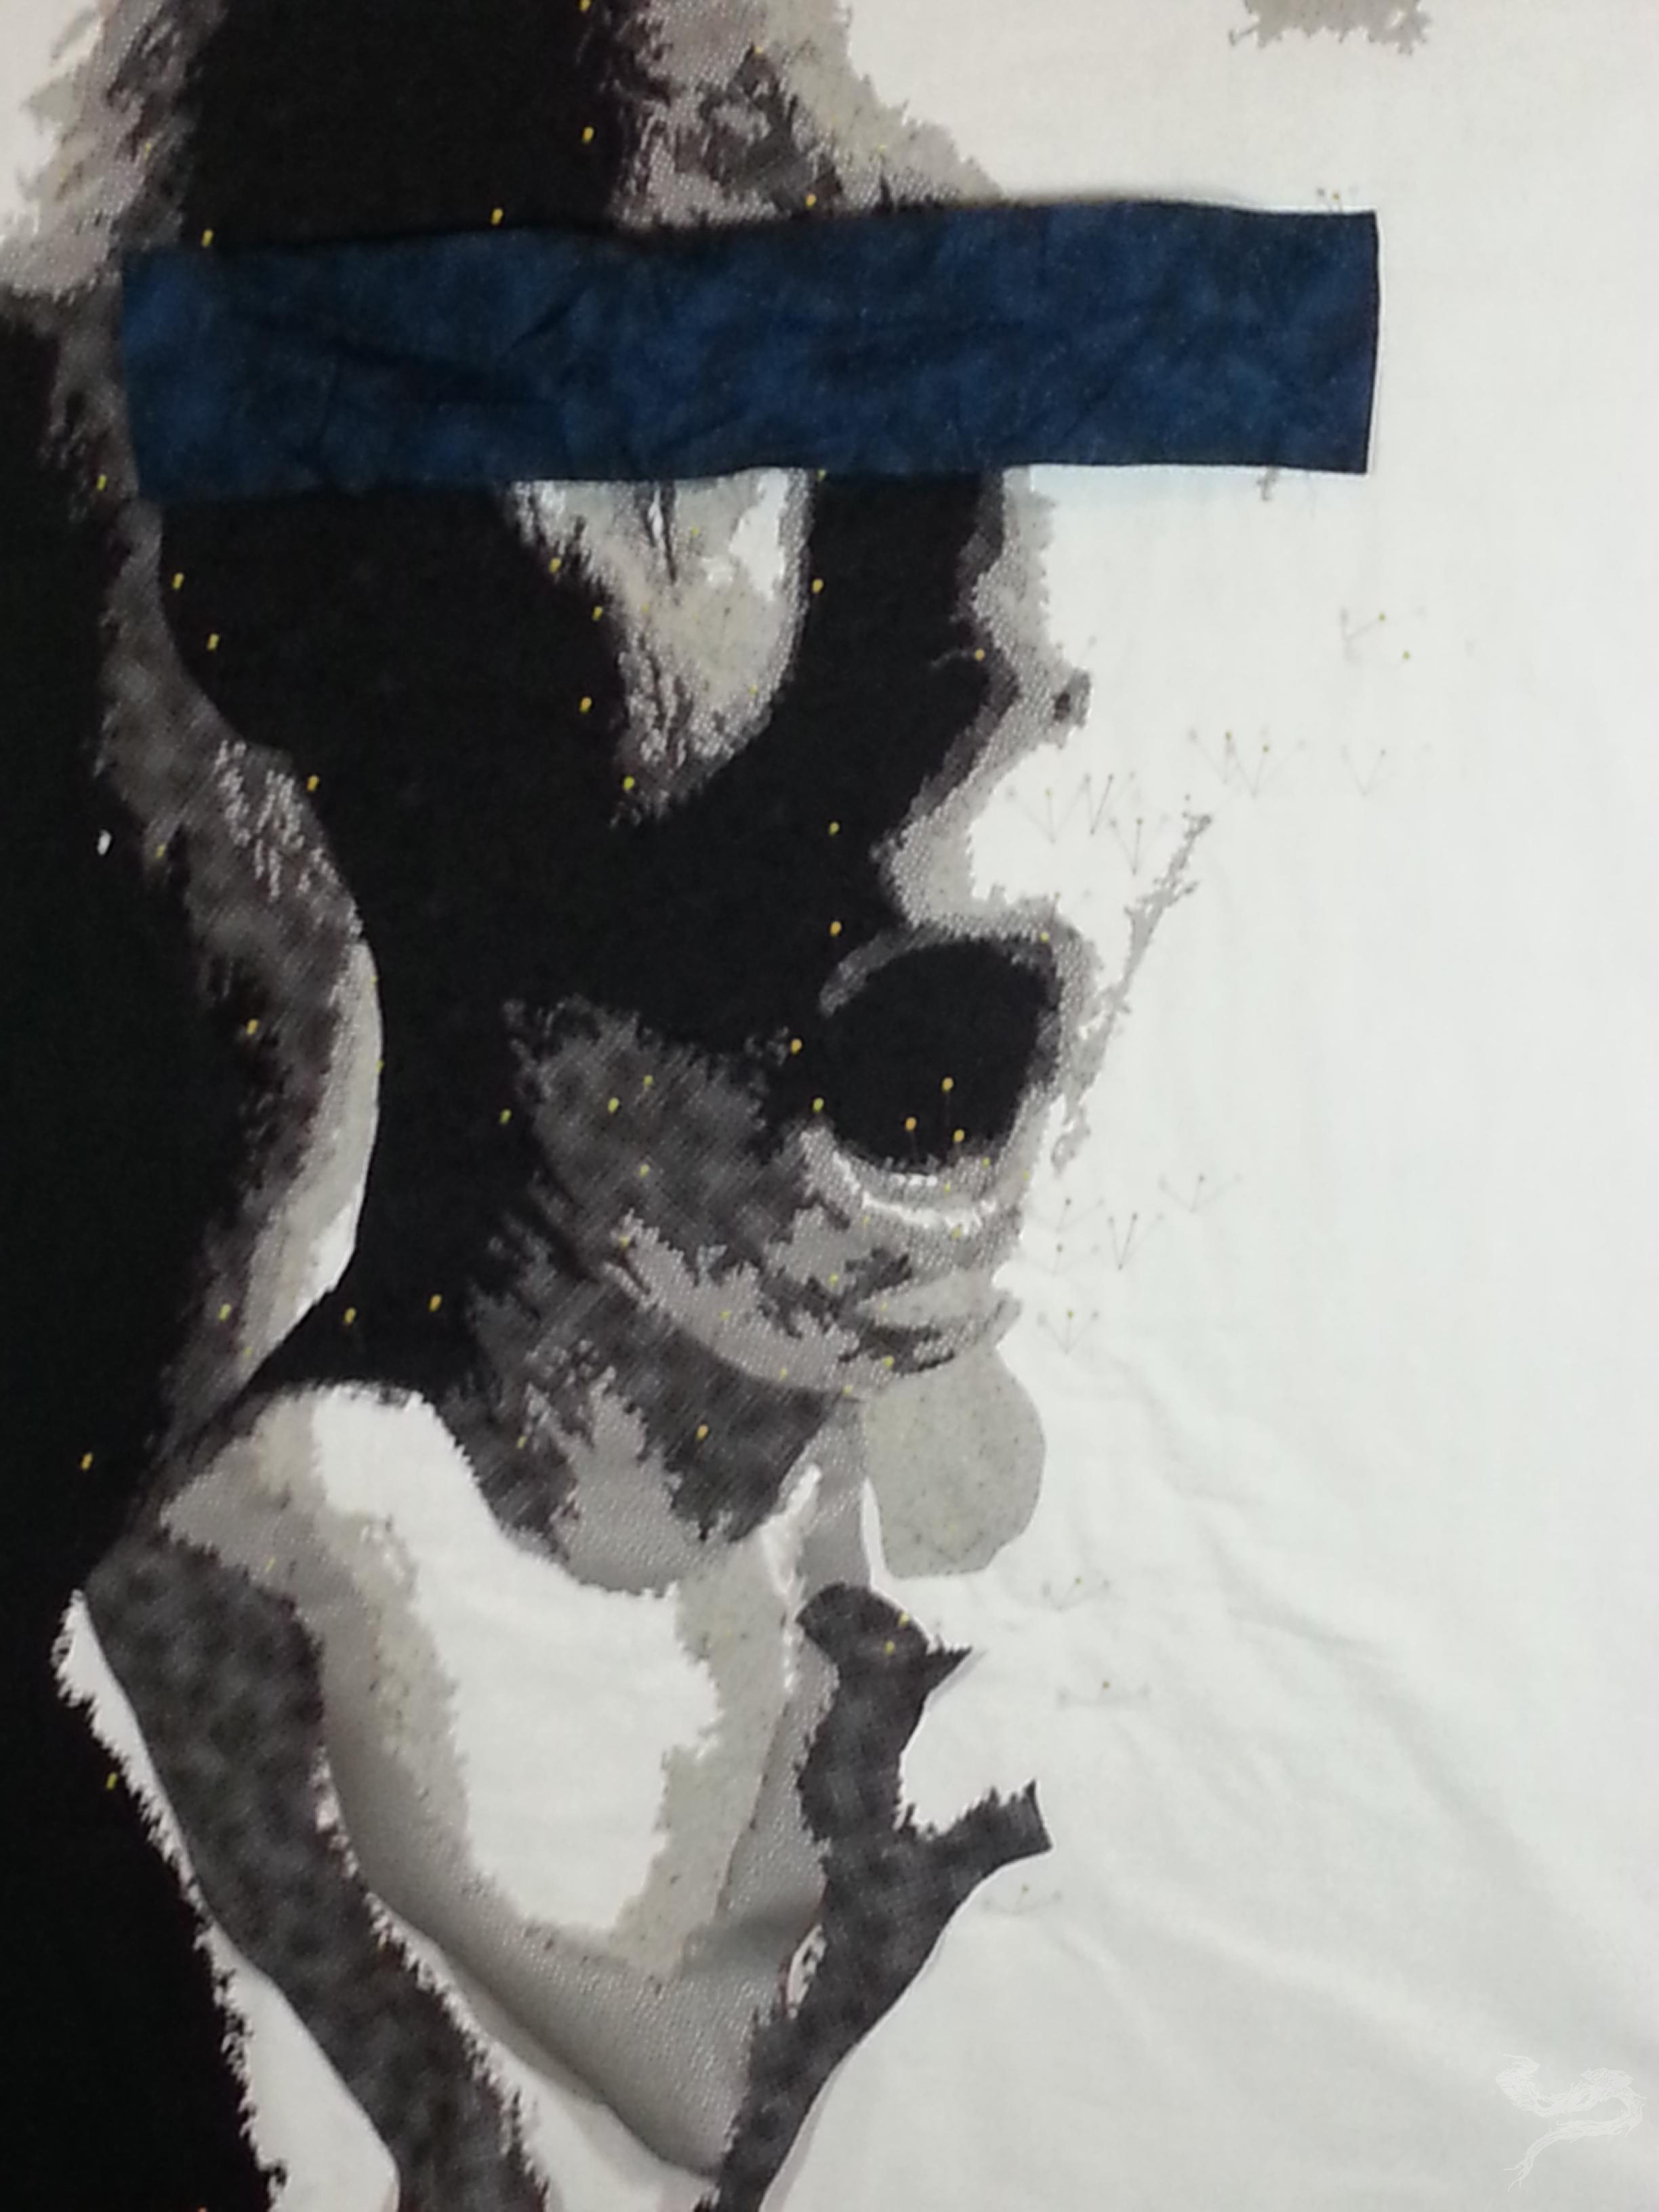 While this version ended up being more “intense”, it didn’t creep me out anywhere near as much as the other. I took the blindfold off after the photos were taken, and went back to work – still chuckling to myself.
Little did I know, this particular section would become an “opportunity for creativity” (it became a bit of a problem) for me. I’d made some mistake in the cutting, but couldn’t figure out where. Trying to force the fabrics to play nicely wasn’t working. 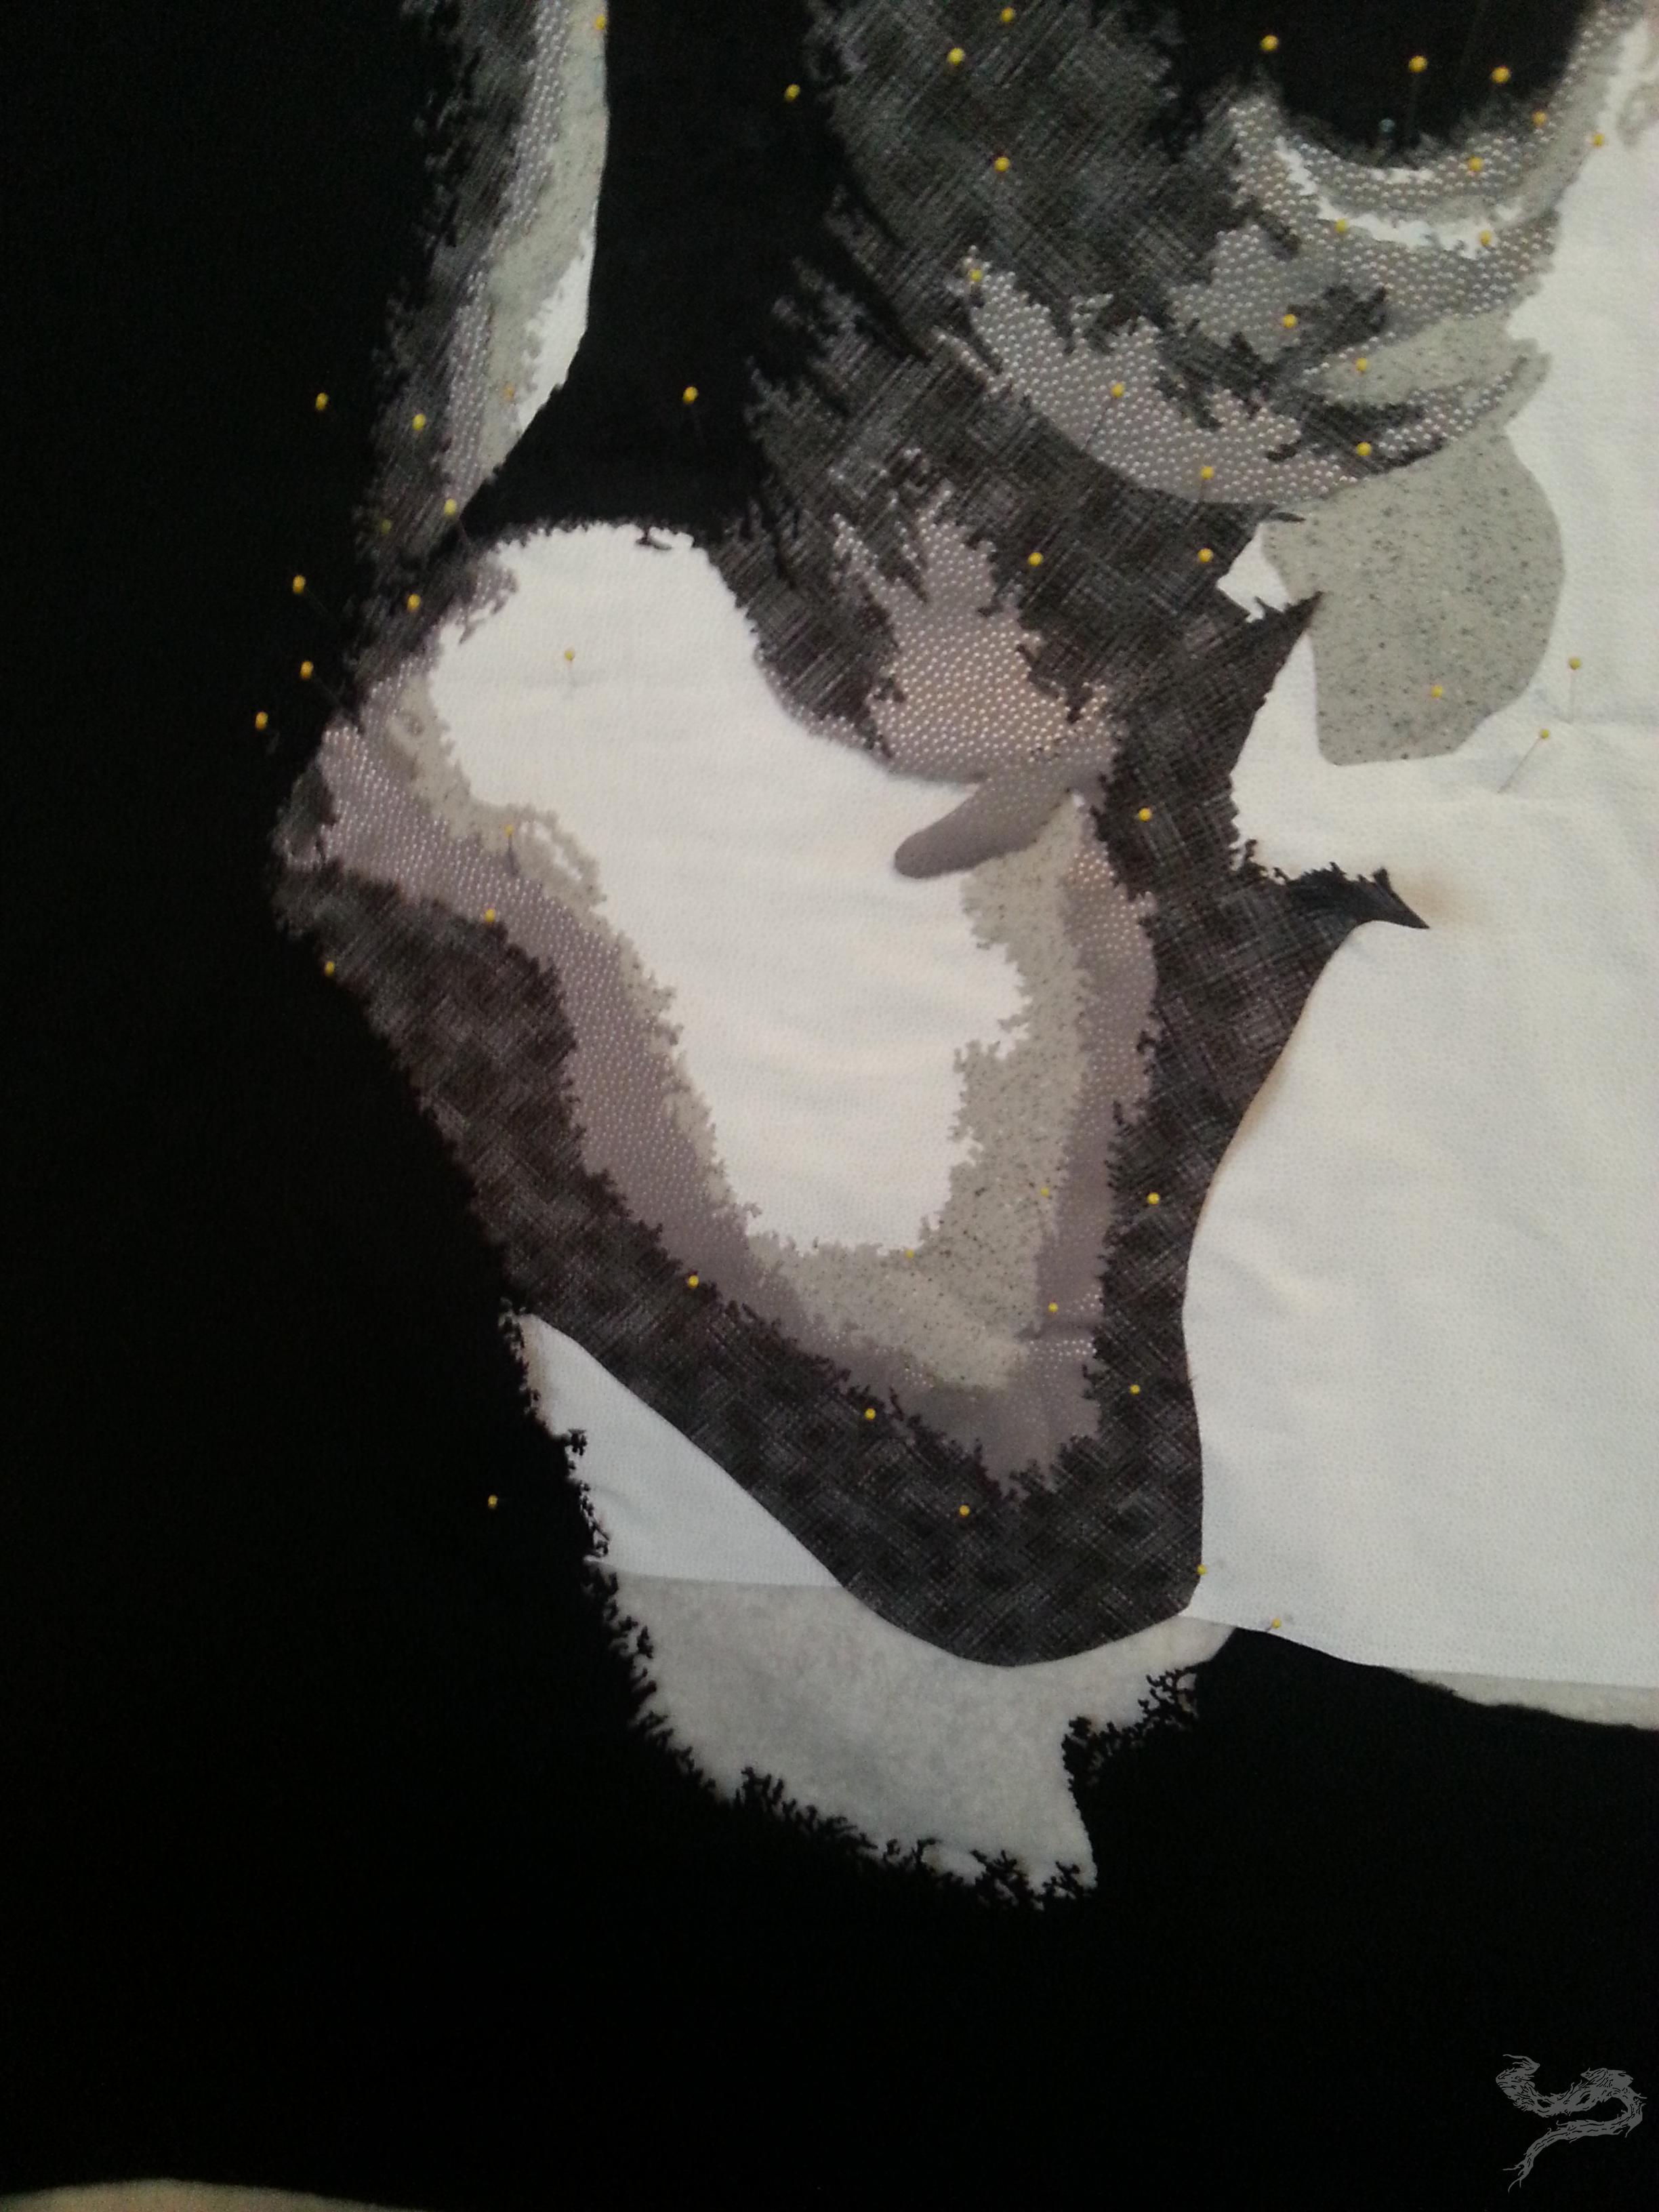
Rather than getting too upset, I moved on to a different section, hoping that I’d find a solution along the way. I didn’t have a hard deadline to meet, so I was able to take some time to mull it over. In the meantime, the one section of the first version that I wasn’t too happy about, I had the time to focus and dedicate to ‘making right’. 

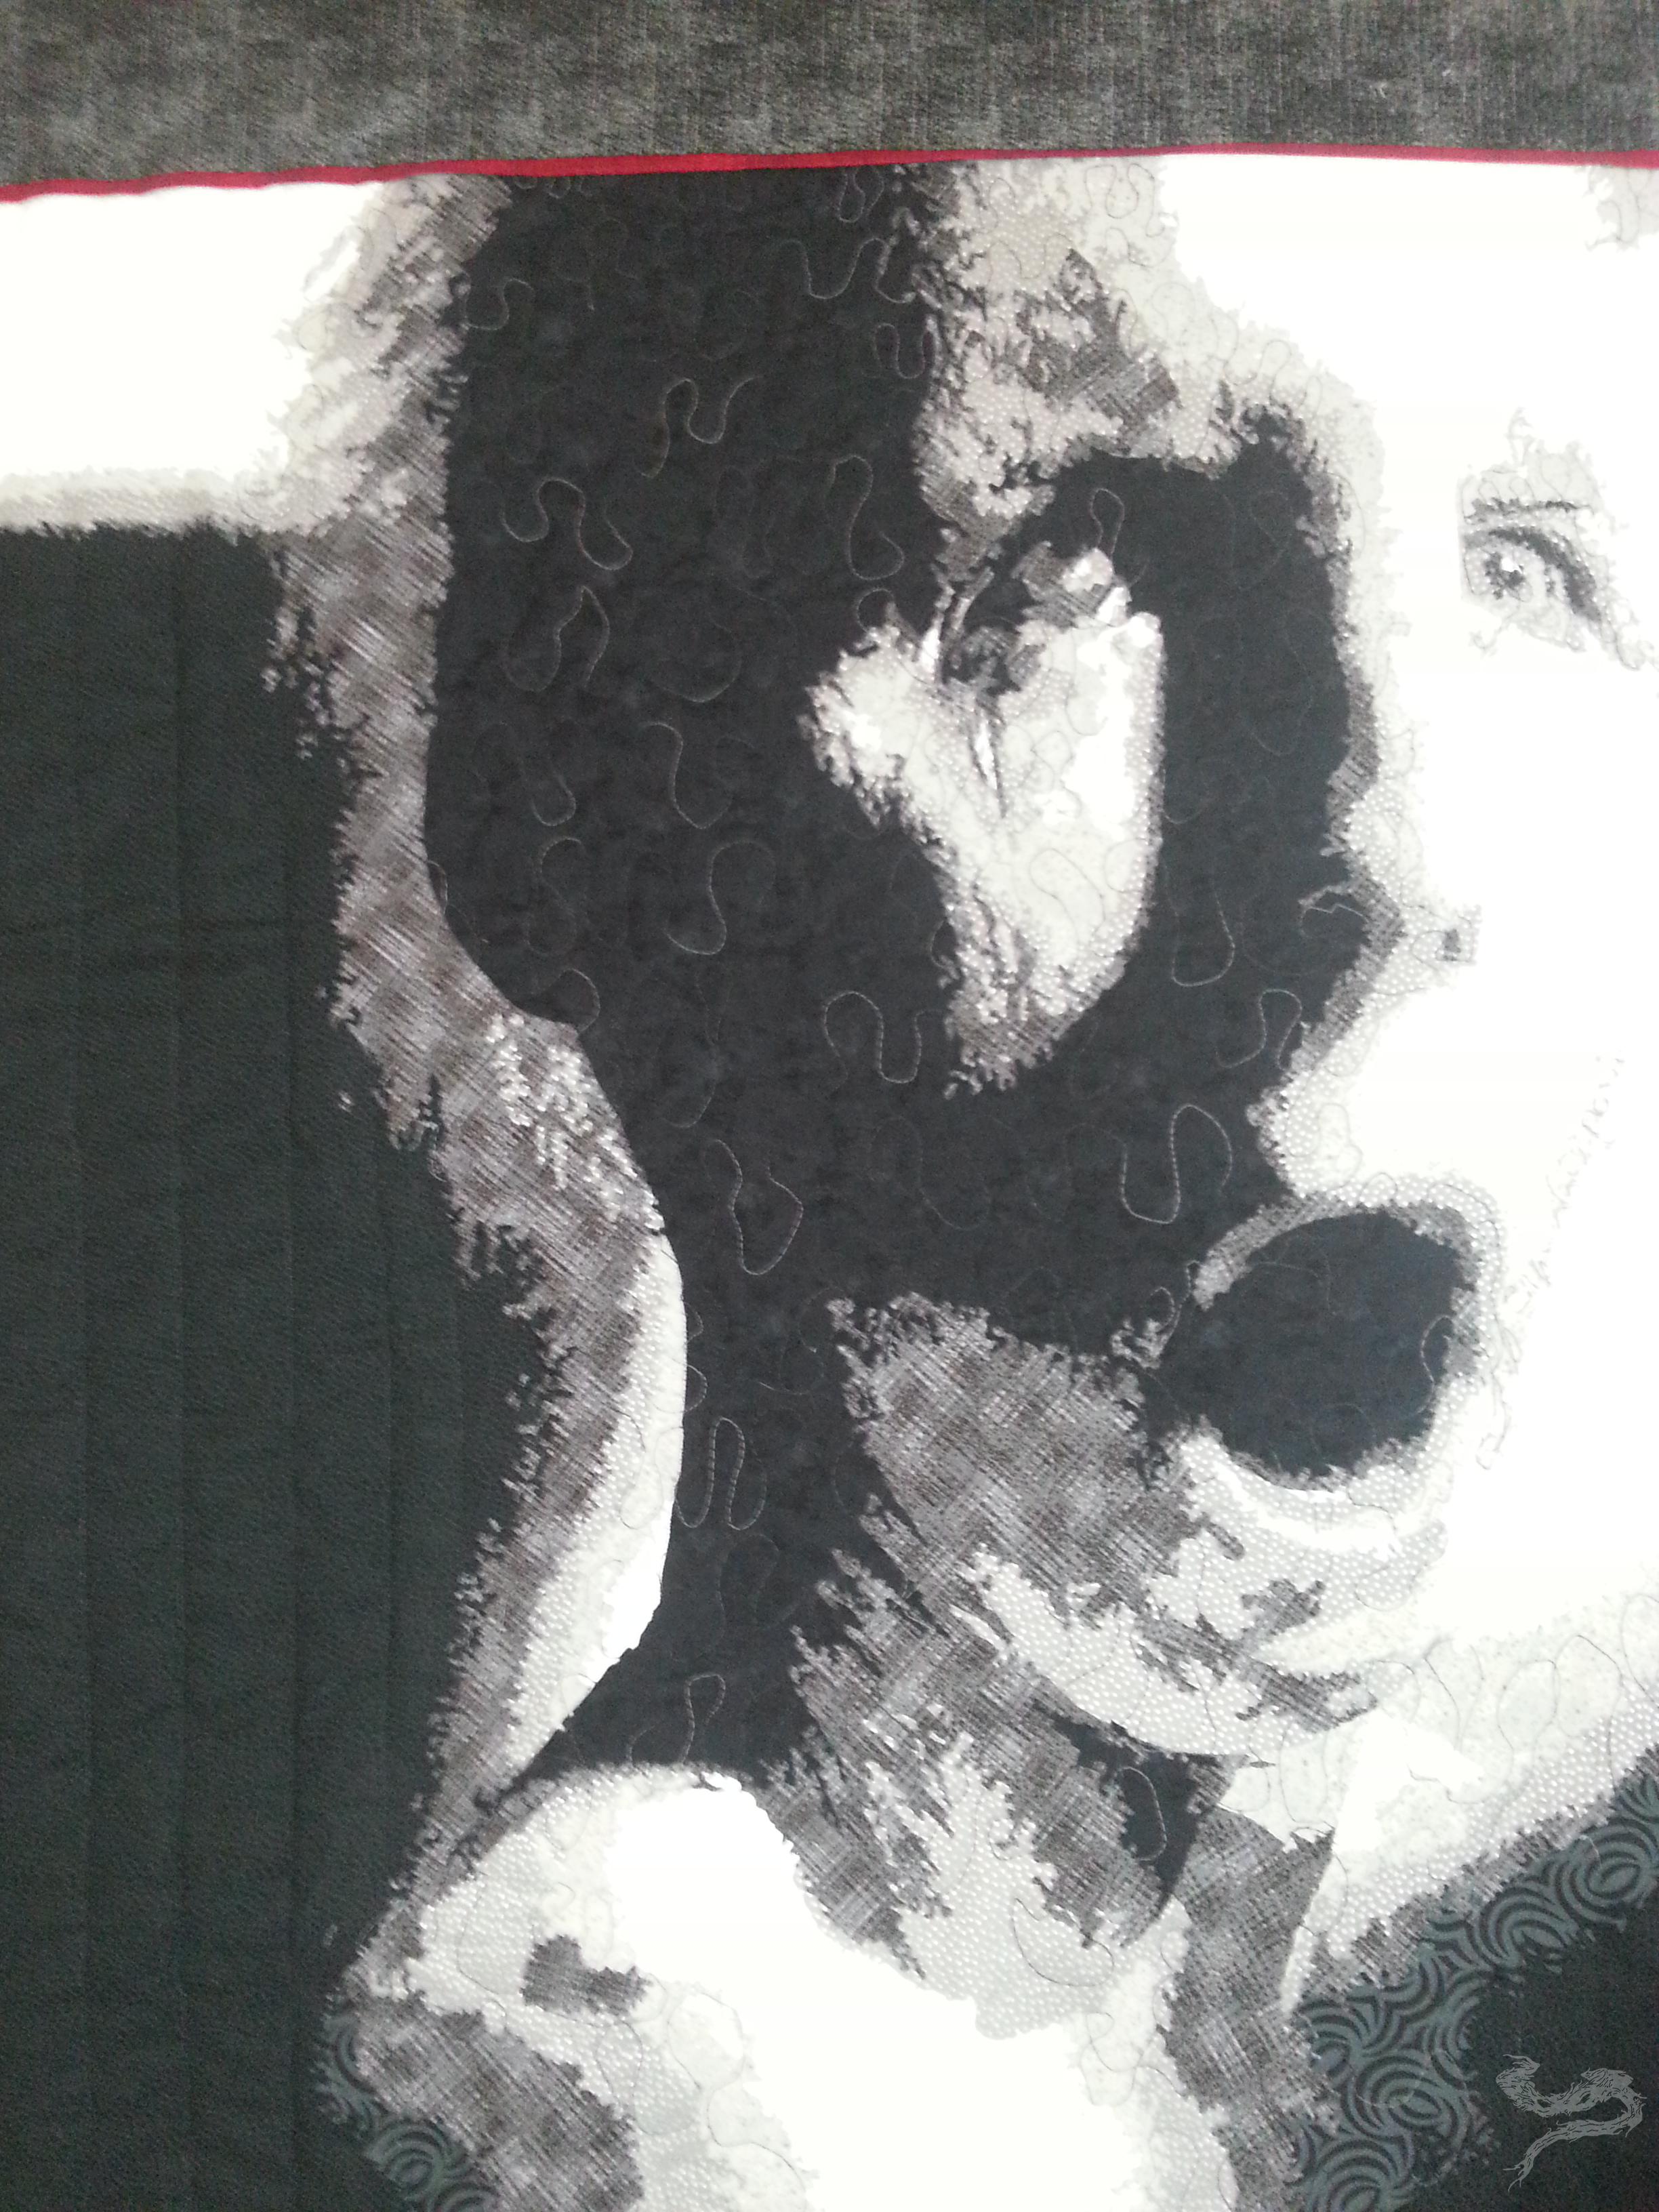
That most people, when they see the finished piece, think that I’d cut away the fabric and put different pieces behind the subsequent hole – I take as a compliment. It isn’t until you get up close and personal do you realize that these pieces, are in fact, like the rest – appliqued on. Meaning: the fabrics are layered much like patches you’d put on clothes.
Yes, I did figure out away to fix my “opportunity for creativity”. Without pointing it directly out with neon signs and arrows, I’m only going to show you the solution I’d come up with. 
It was right about here, that I’d focused completely on getting this quilt finished. I was getting towards the end, and it was time to take it down off my design wall. First, I needed to complete the last section.

I’d fused all the pieces down, and moved it to my dining room table. Something was missing. I’d covered all of the components of the original photograph, and was satisfied with those results. I couldn’t put my finger on what was bothering me, until I saw my colored print of Zombie Sam. Willowy Being needed color. Not a lot of color, just enough to “snap”. 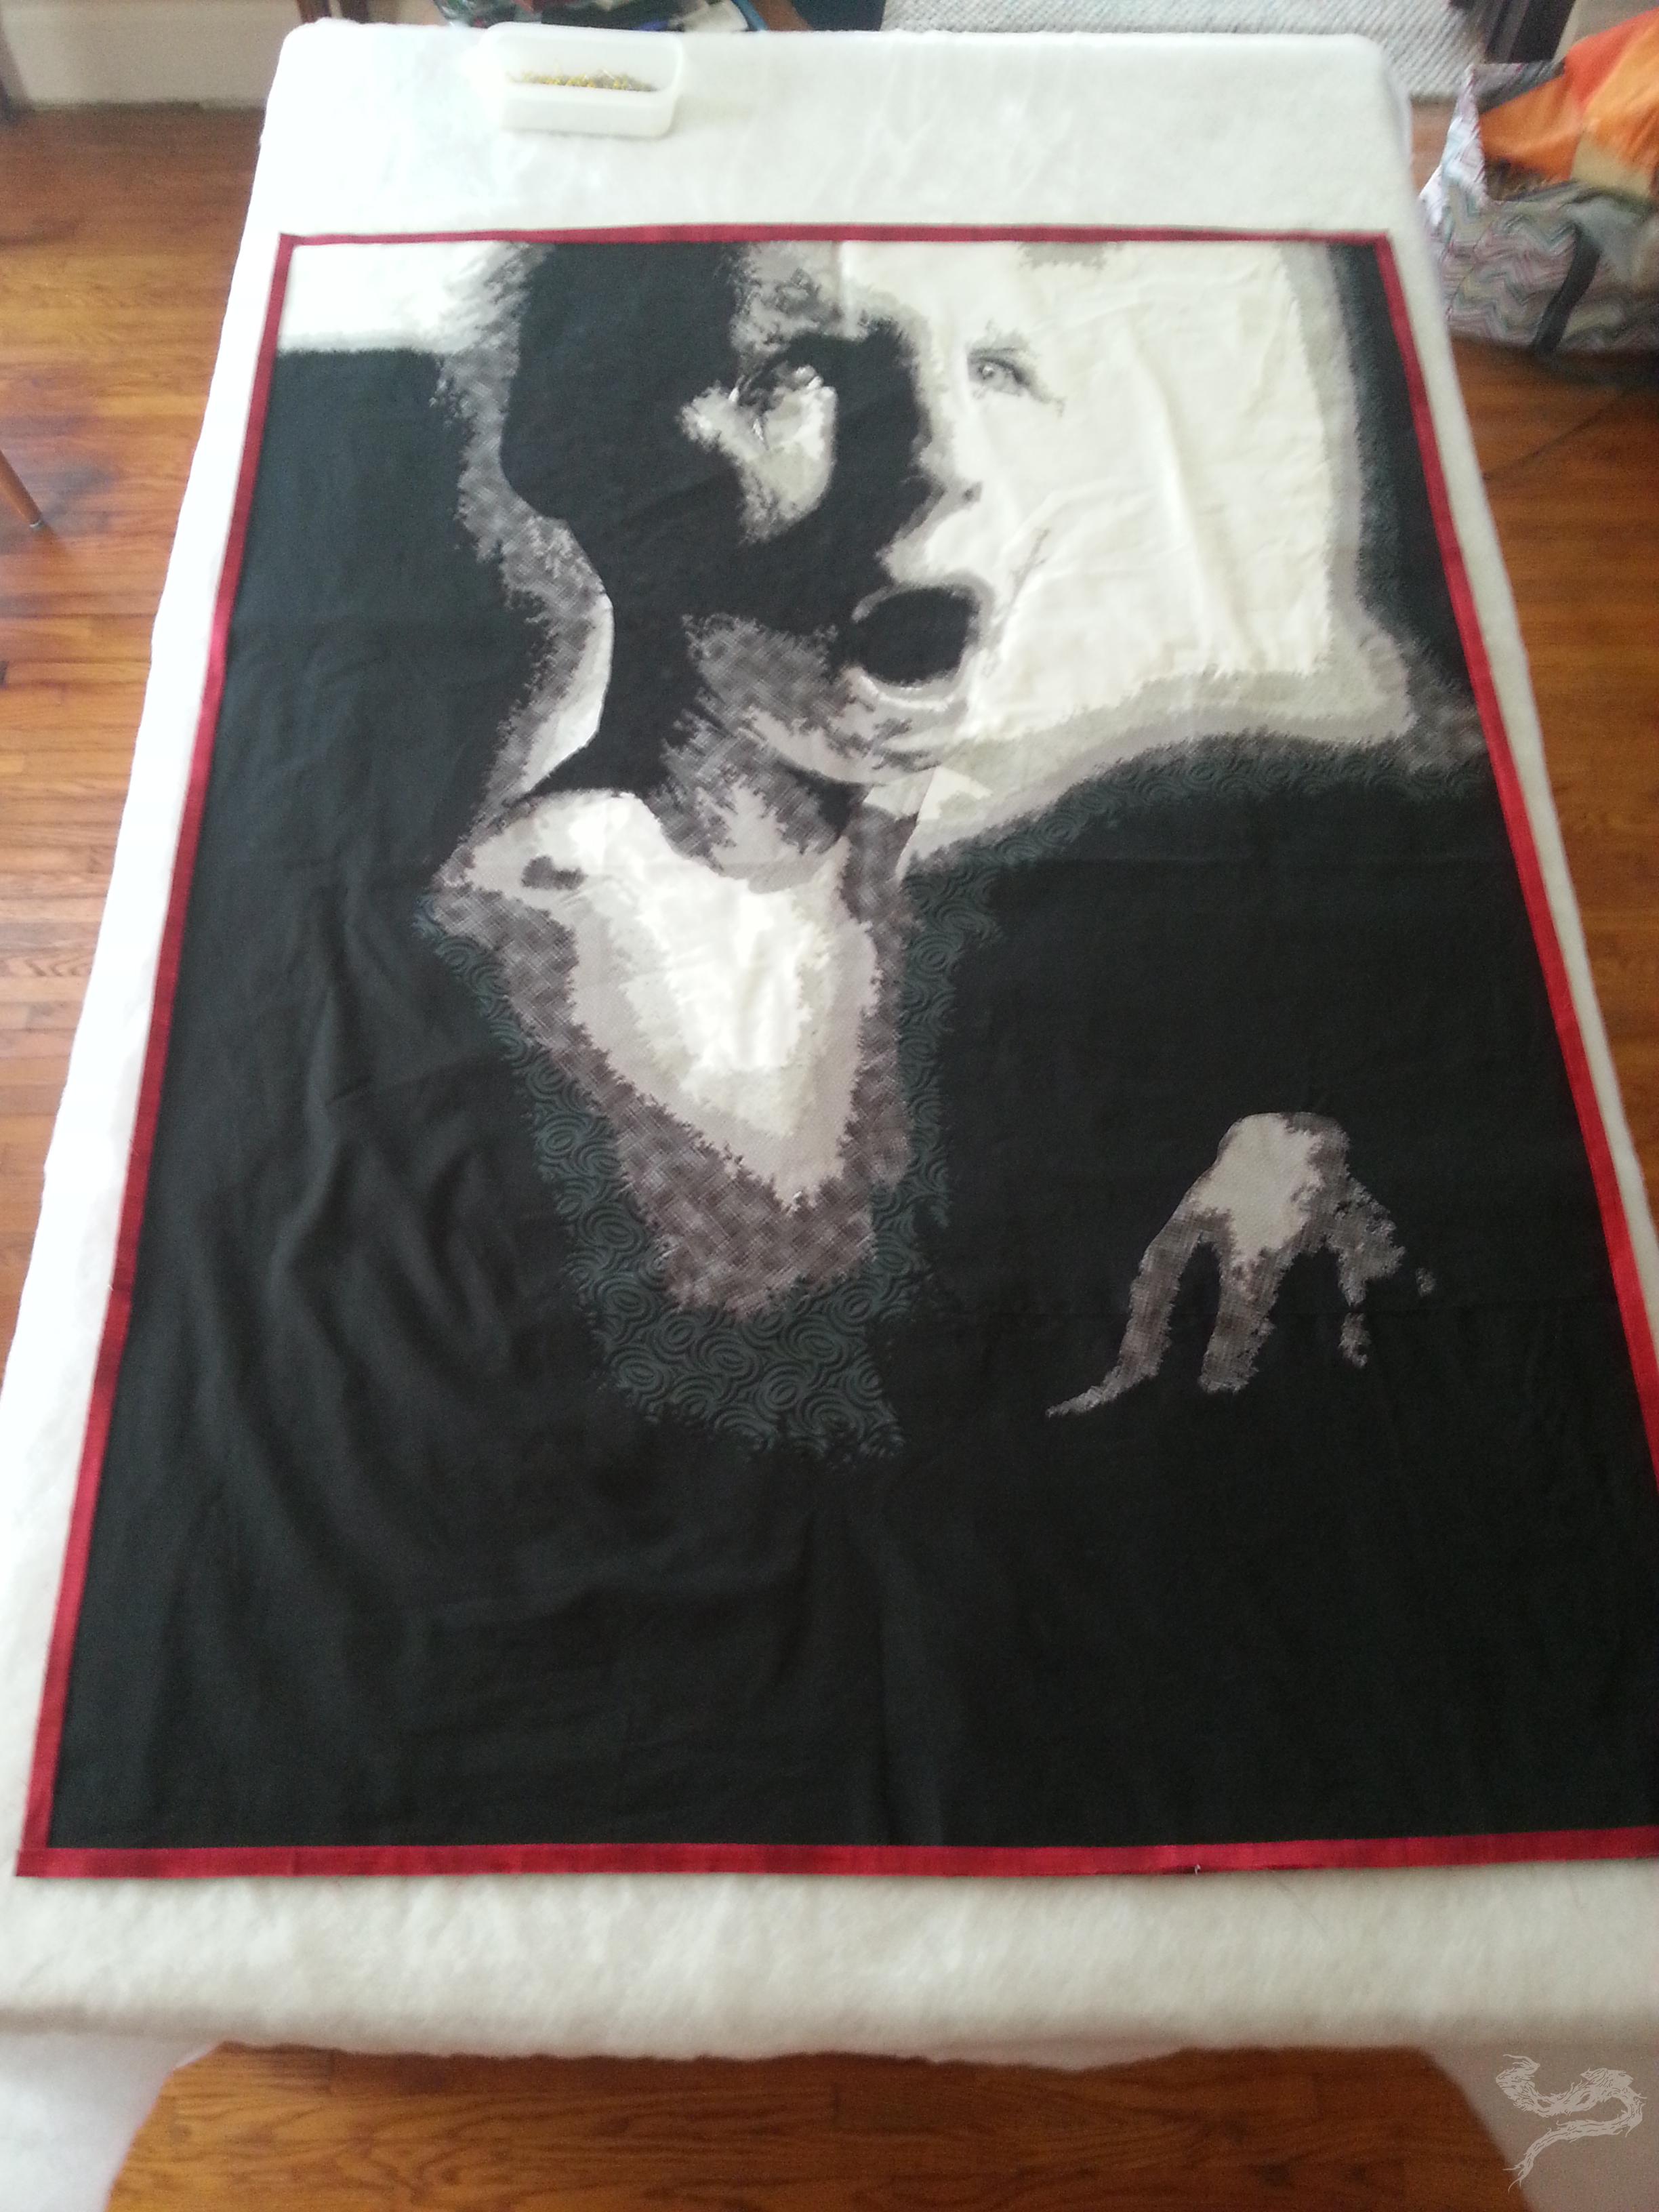
This made me happy. Now, I needed to find a border and figure out the end size. I probably know more about the Golden Ratio now, than I’d intended. Believe me when I tell you that this had a lot to do with the overall finished size. No, it’s not an exact ratio, just darn close.
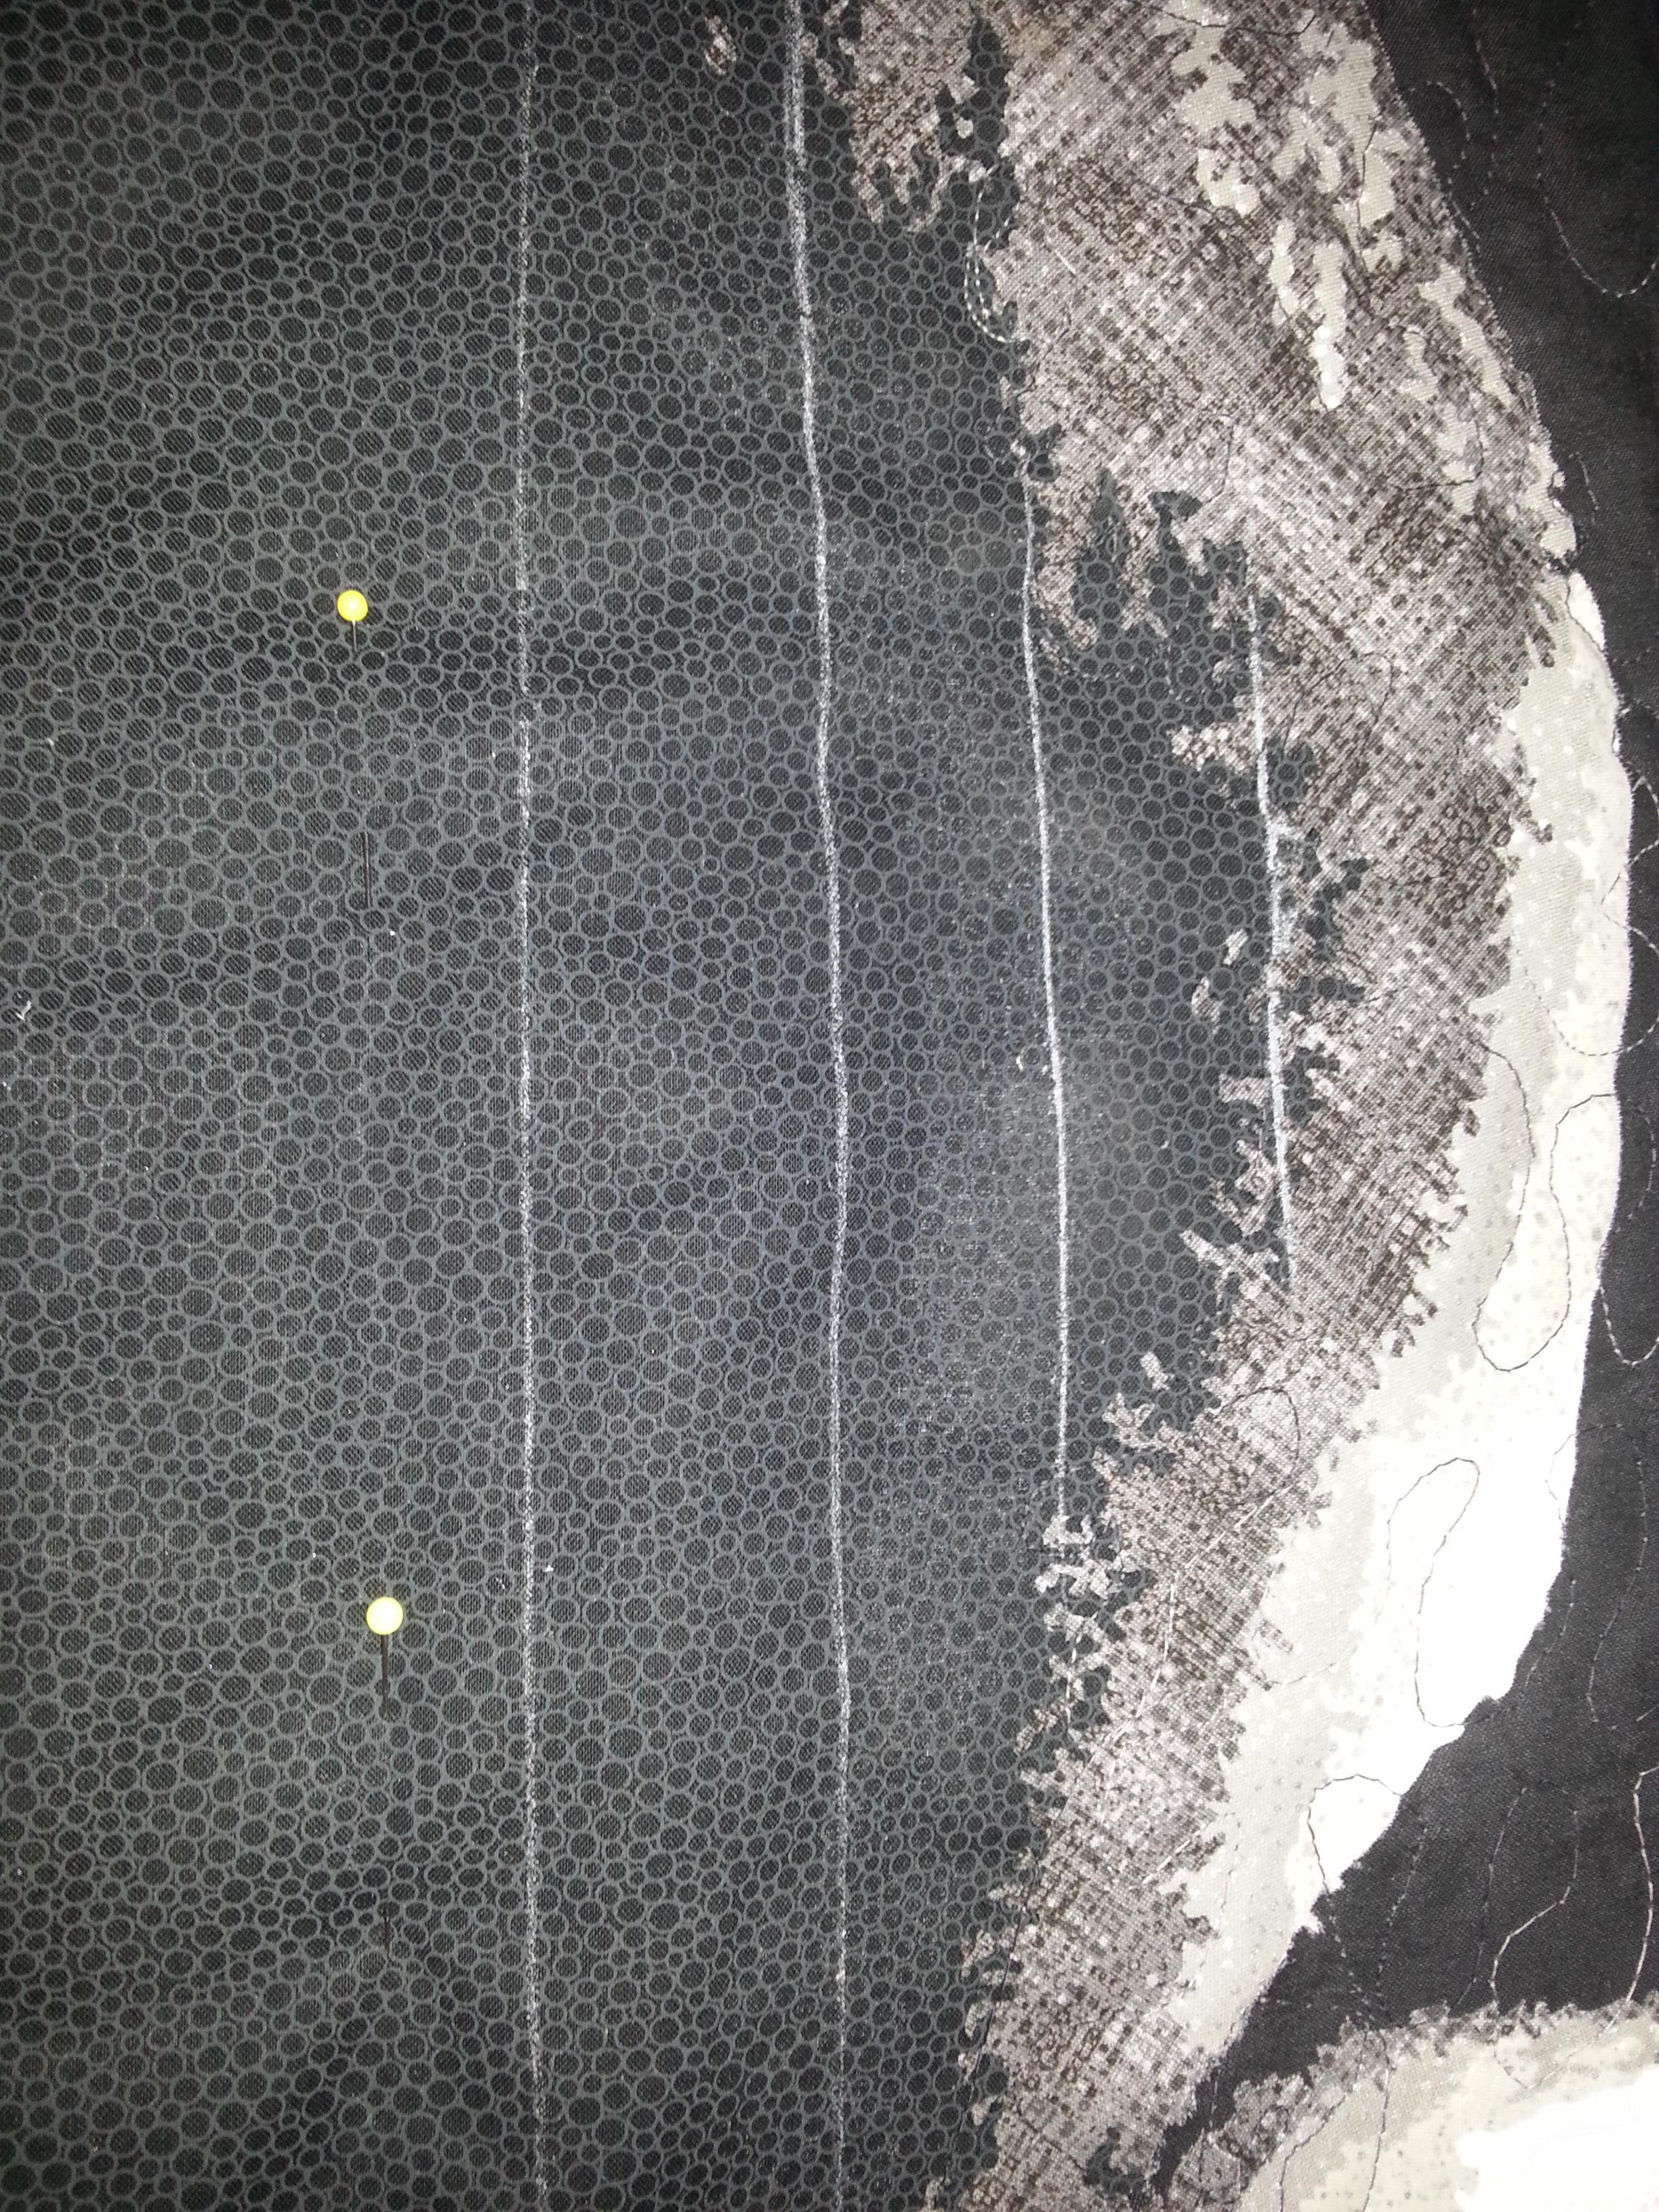
After some thoughts about how to quilt this piece, I realized that I wanted to have some of the same texture I’d given to the first, but with some subtle differences.
The completed piece
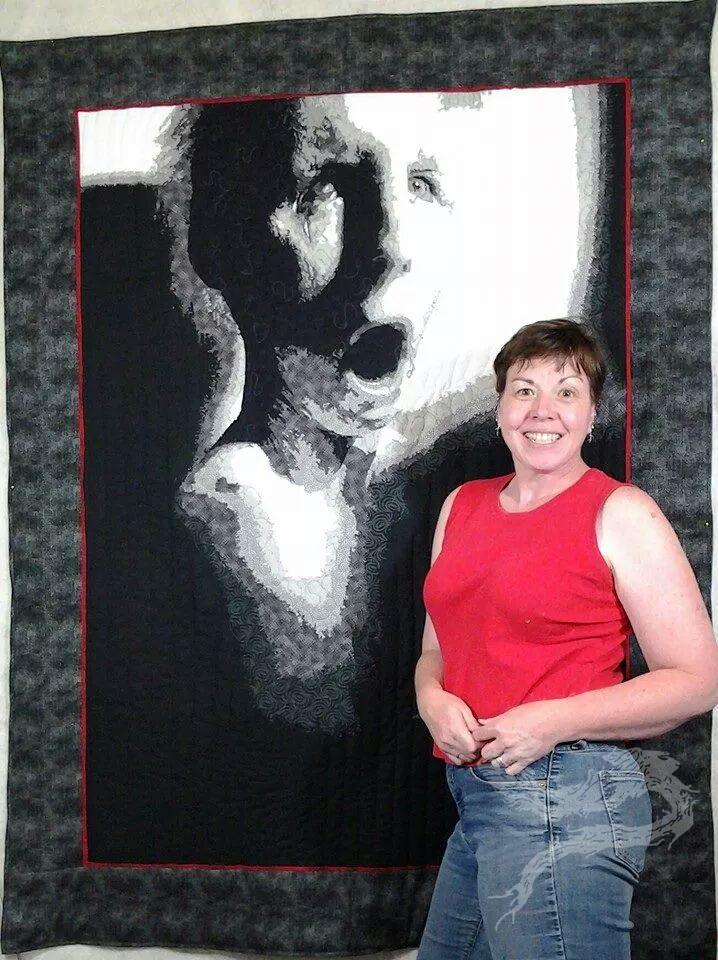
The Willowy Being: A Reedus Salute
Completed size: 52 inches by 67 1/2 inches
Raw edge applique, machine pieced, machine quilted
Cotton fabrics, poly/cotton batting
Date completed: June 18, 2014
Recent Comments