
Now that I was starting to get more comfortable using a couple of different styles of artwork, I was getting curious as to how I’d manage using one of my own photographs. Granted, results were coming with black & white images. I wasn’t quite ready to tackle one of the full color images I have ‘banked’ for future use. I don’t feel my skill set is quite up to that level of work, but I’m getting there.
I knew a friend of mine had done some modeling work for different artists, so he was the first to come to mind when I came up with this idea. Later, having looked back on the text messages, I must have sounded like a bit of a nut. He was patient enough to let me get my idea all out before laughing at/with me. Being such a good friend, and maybe my idea intrigued him, he agreed to step in front of my camera.
It was close to this time that a local quilt shop announced a fabric challenge. The idea was to make a quilt from pre-selected fabrics. The hard part of the challenge, for me, was to stay within a restricted finished size. The challenge fabrics had to be very obviously used, but we could add any other fabric we wanted. Ok, I can do this! Could I finish the quilt before the deadline? I was about to find out.
First, I picked up the required fabrics. These were going to set the “tone” of my finished piece. I was surprised, when I picked them up, that the dark brown wasn’t a dark blue. Apparently, the photograph that came in the email was a bit off.
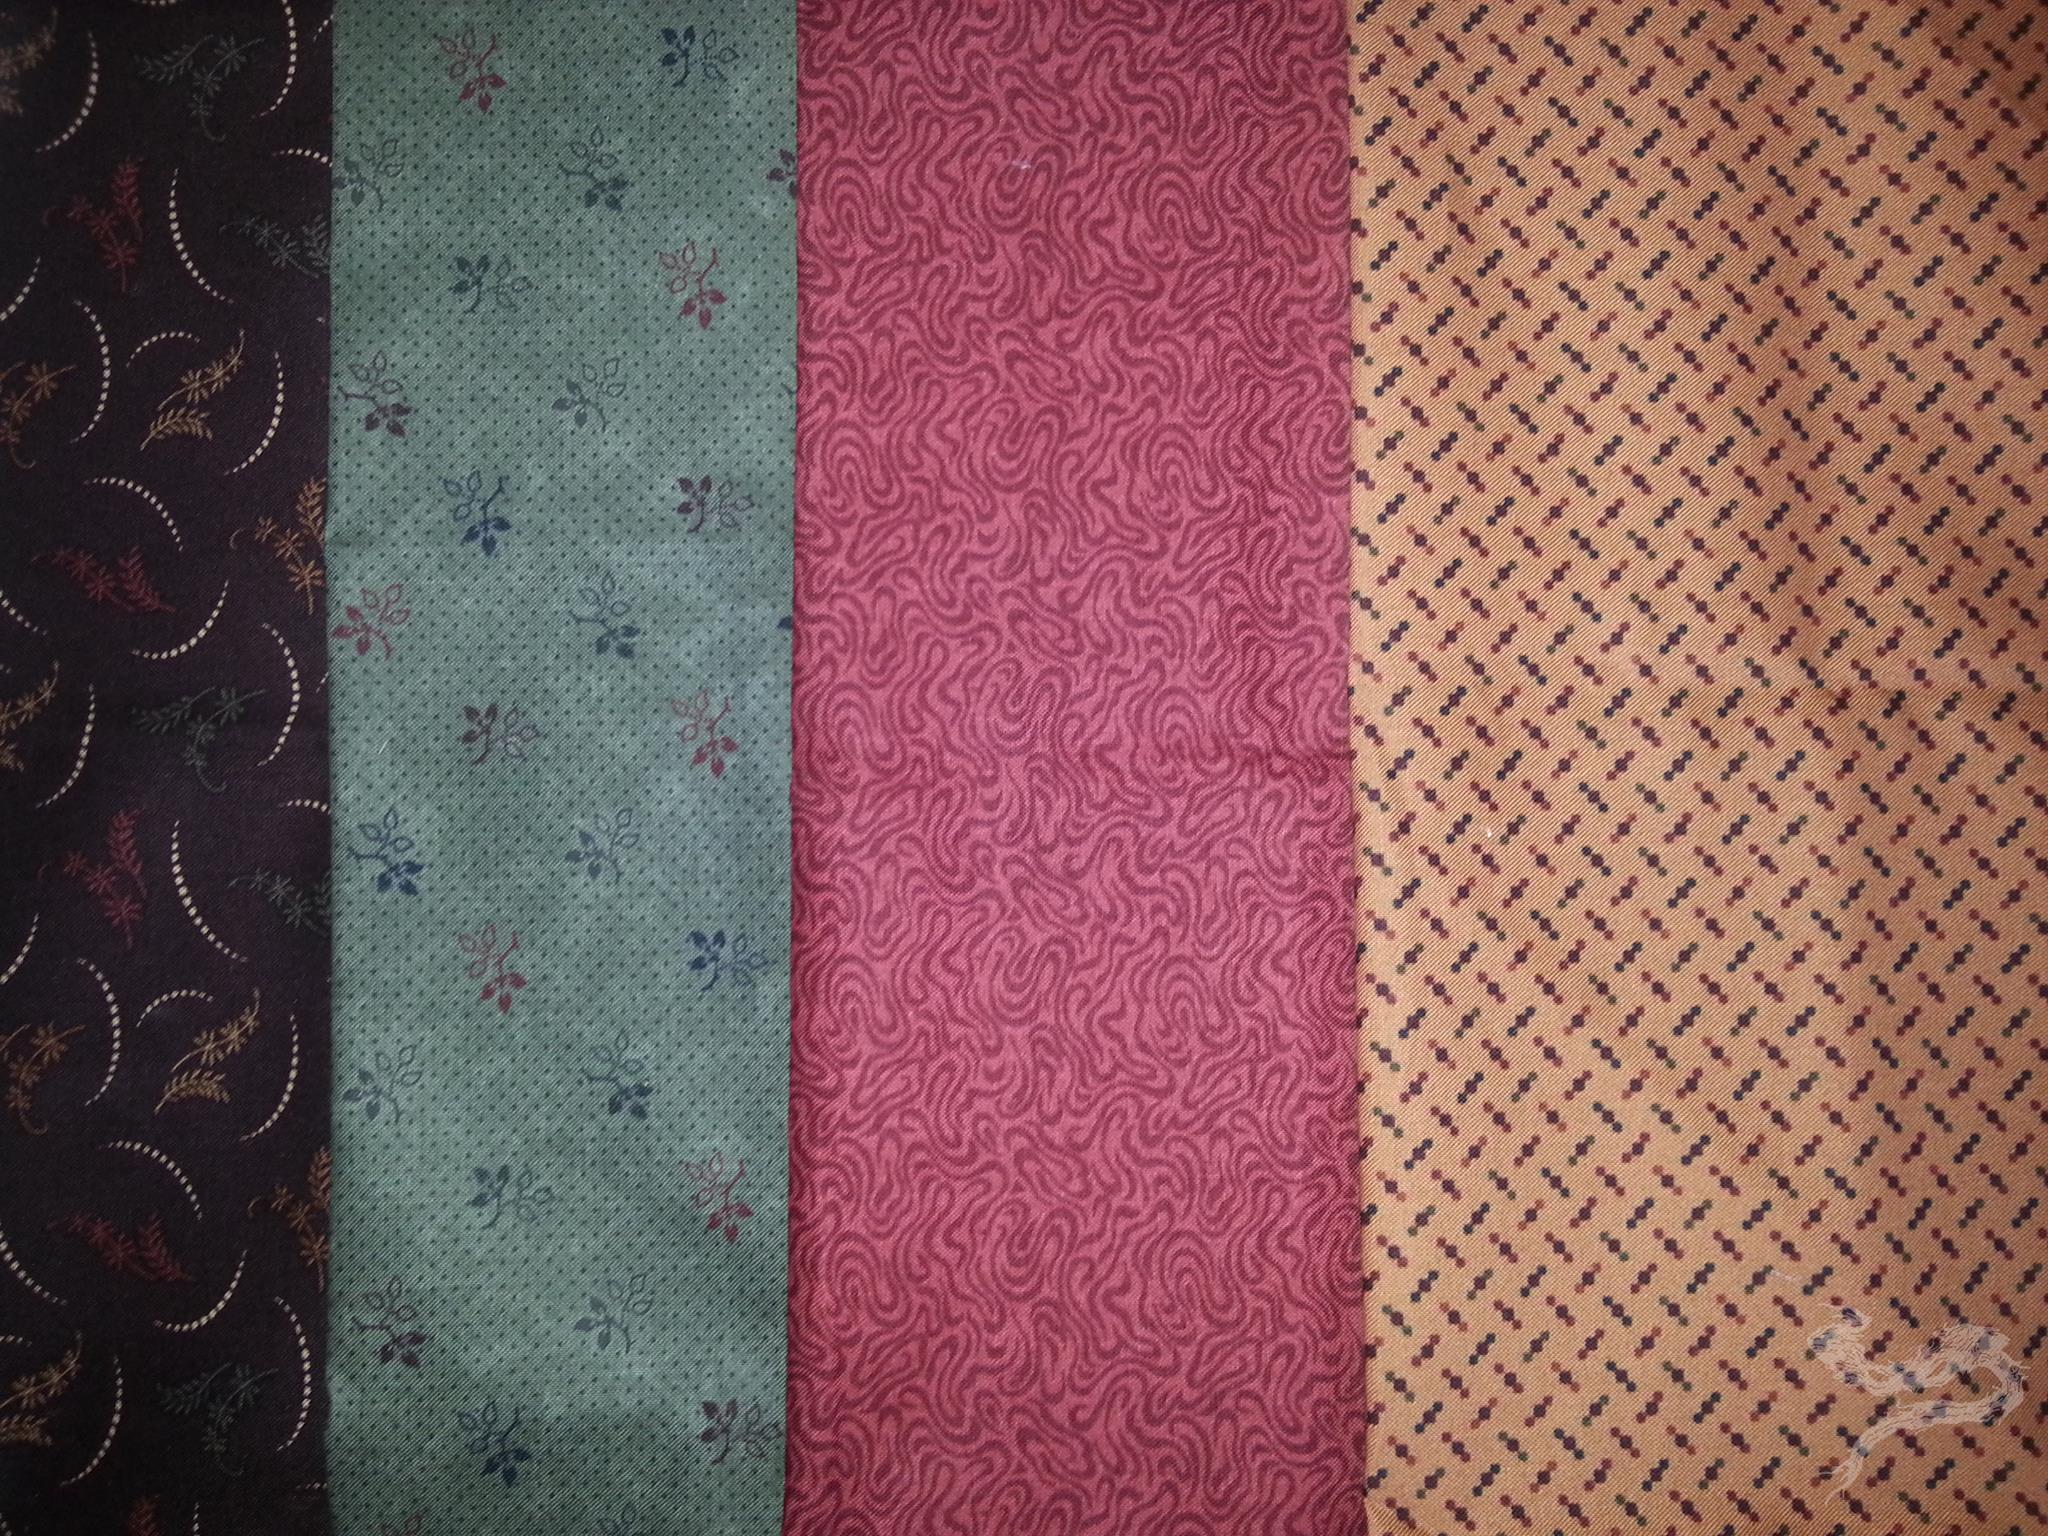
I’d used this type of colorway, previously, in other types of quilts. Getting these colors to play nice wasn’t going to be that difficult. Getting them to play nice to make a fabric version of my photograph? That would be interesting to see.
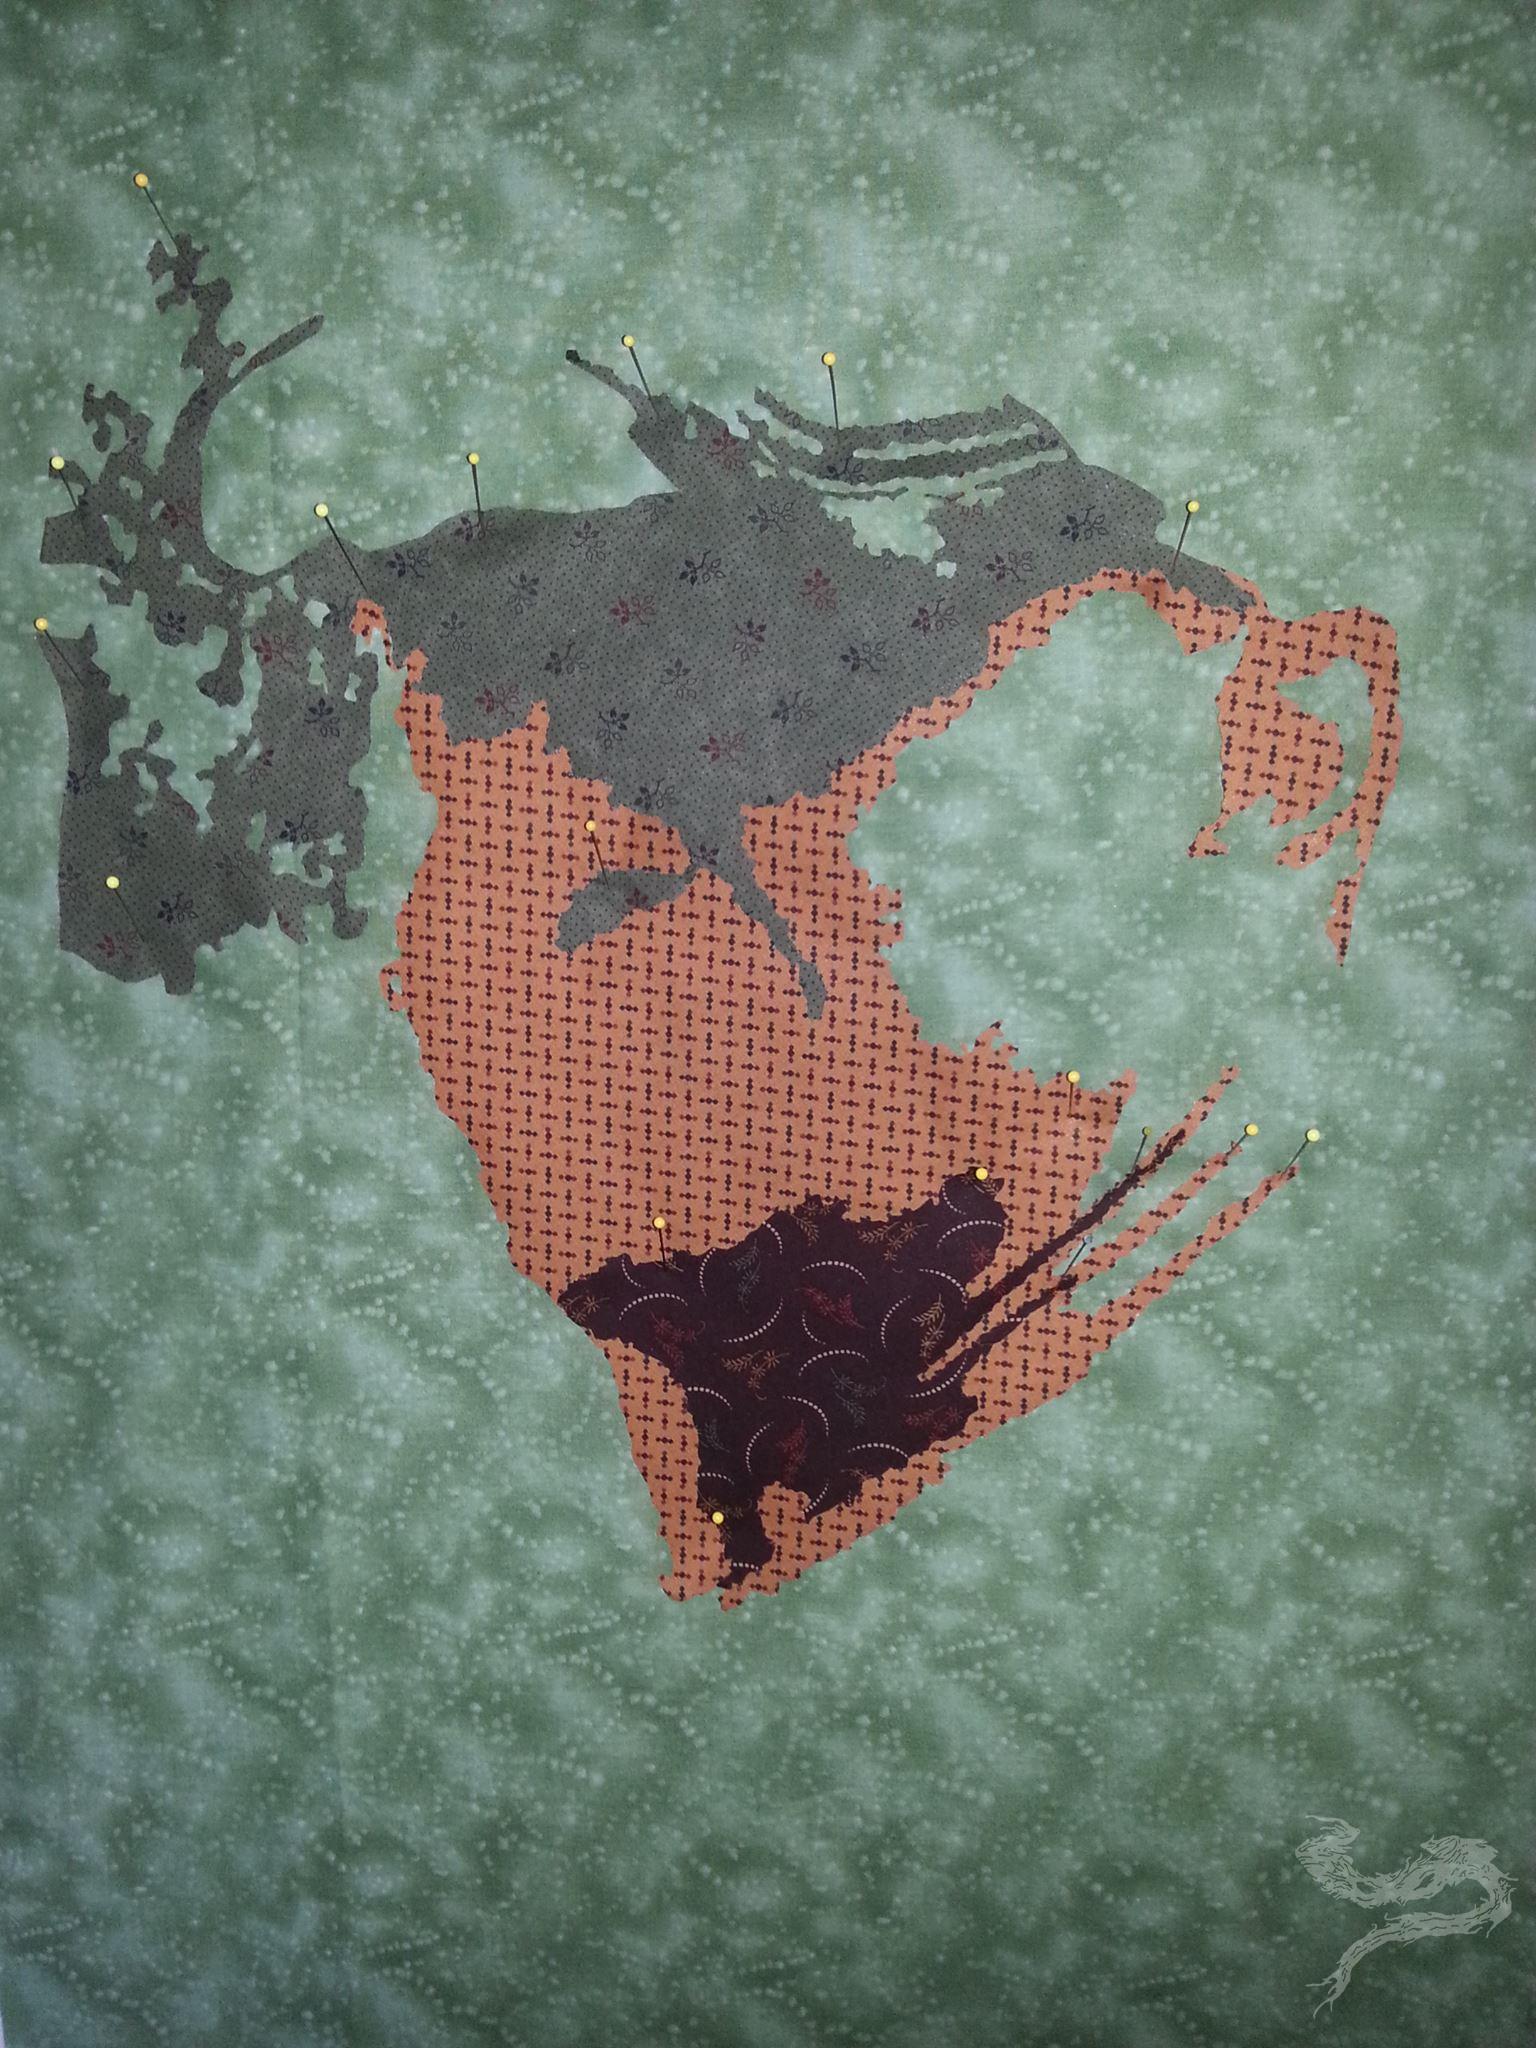
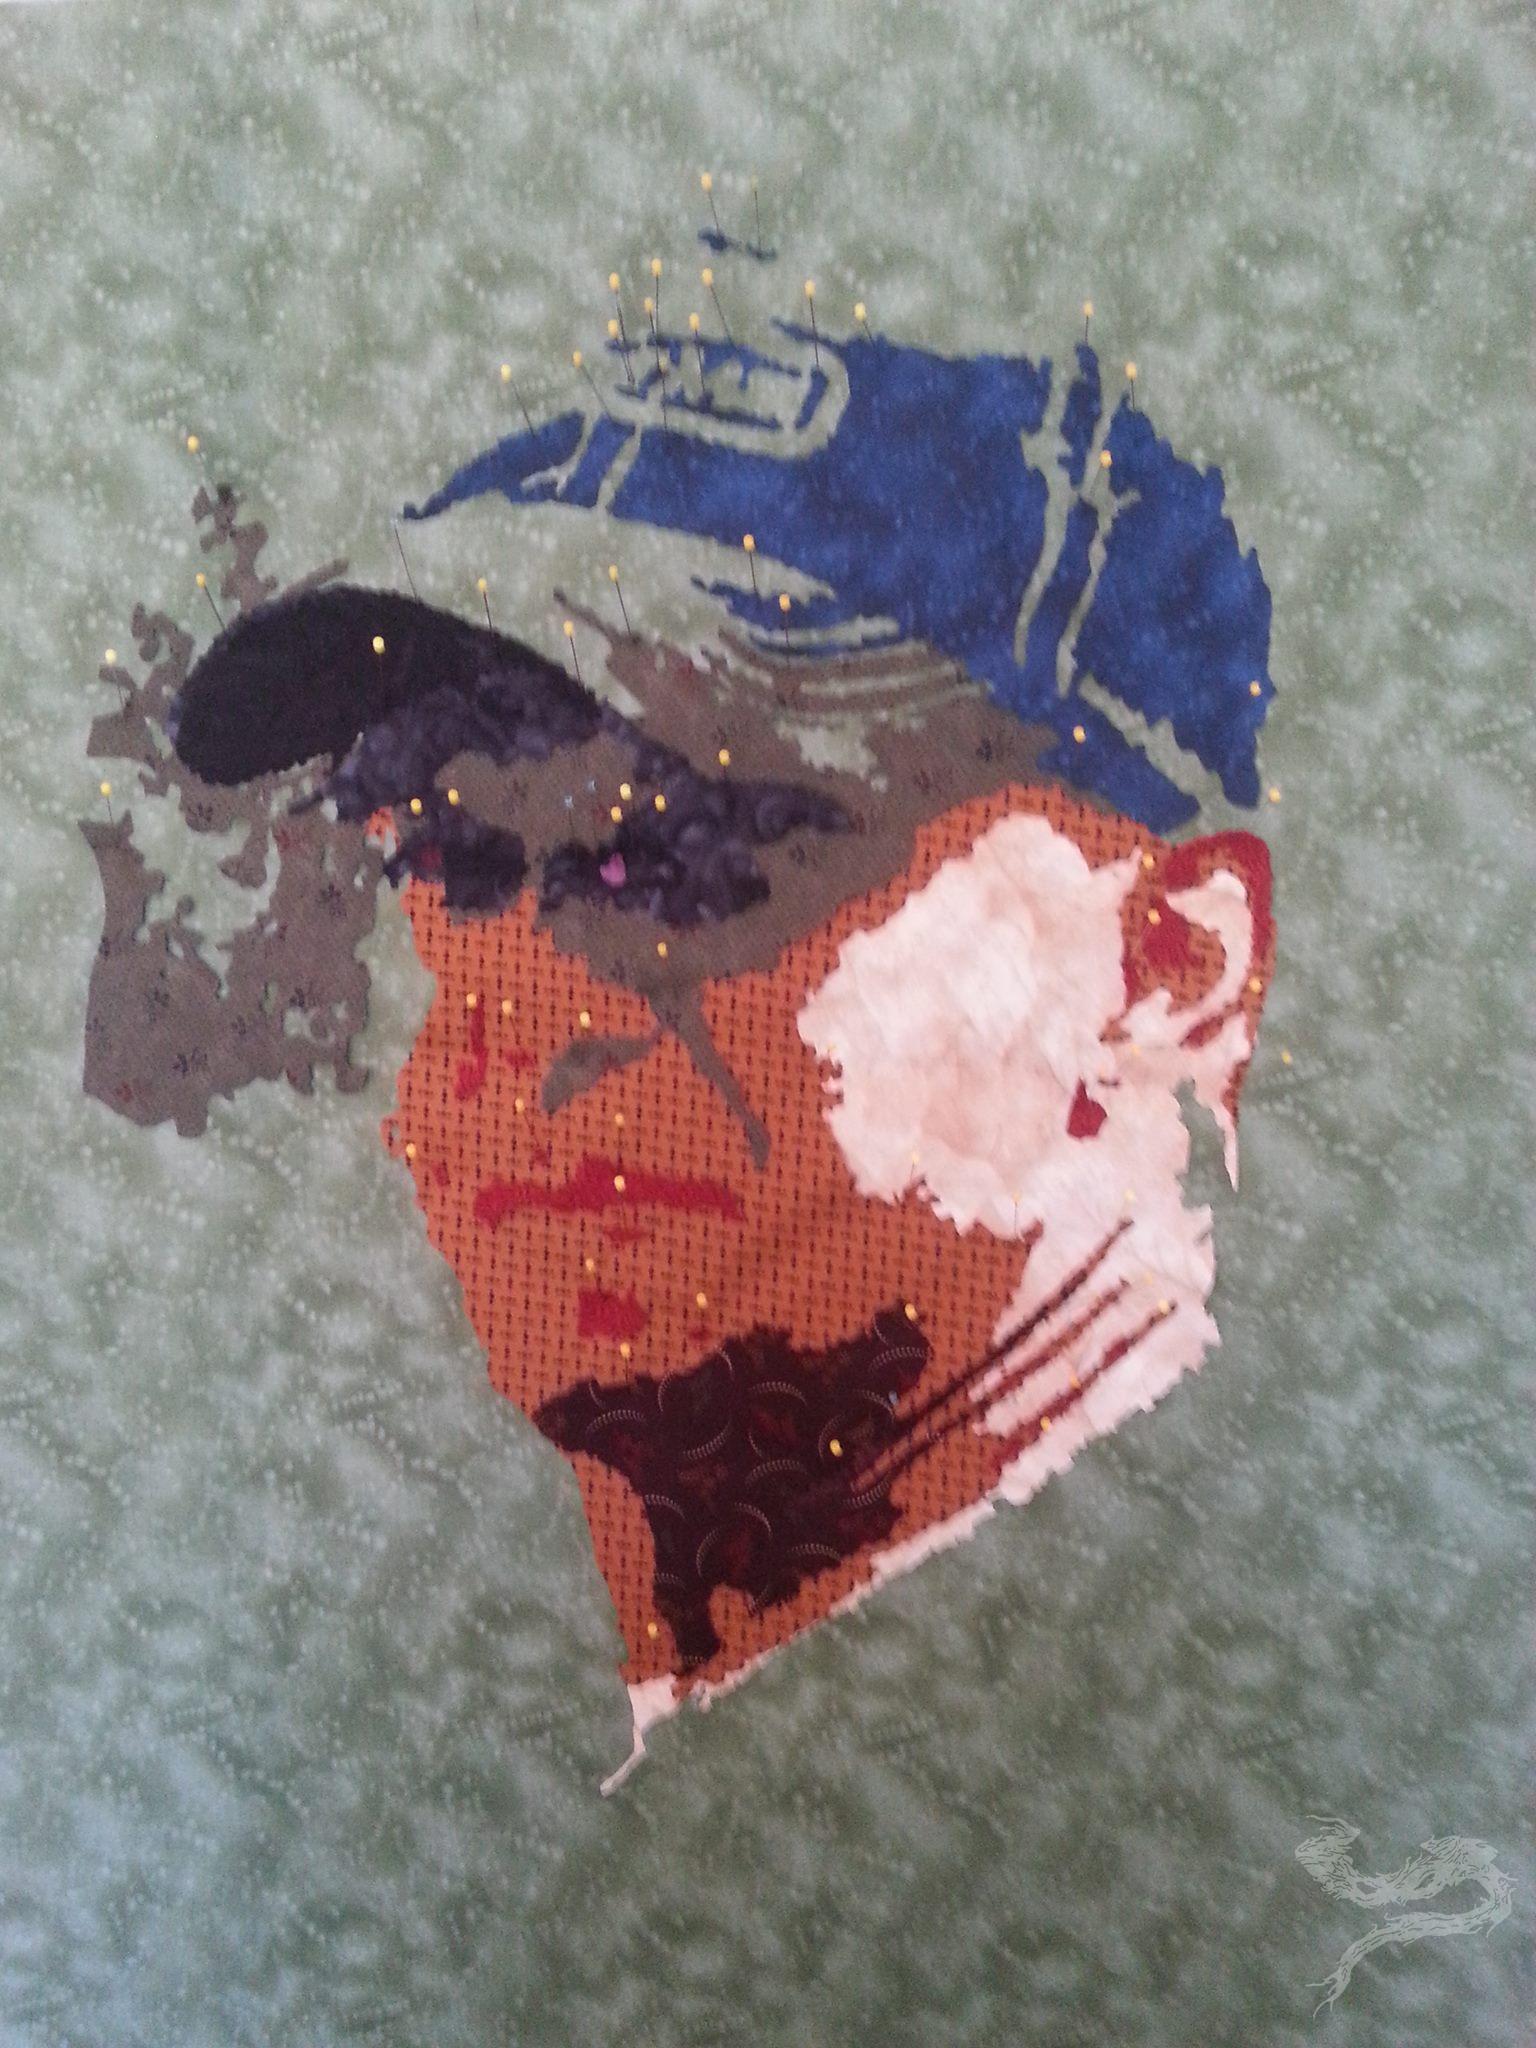
As I learned from the previous art quilts, I needed to get some sort of framework in place. I wasn’t quite sure where I wanted to go, only what I knew I wanted as an end result. I wasn’t quite happy enough with what I had, but I was going to keep moving. As you can see, I’m making sure to utilize the required fabrics first. Once those are out of the way, I can start picking and choosing from my stash.
The “Medusa” detailing off to the left may or may not stay with the finished piece. It all sort of depended on how the rest of the pieces went together.
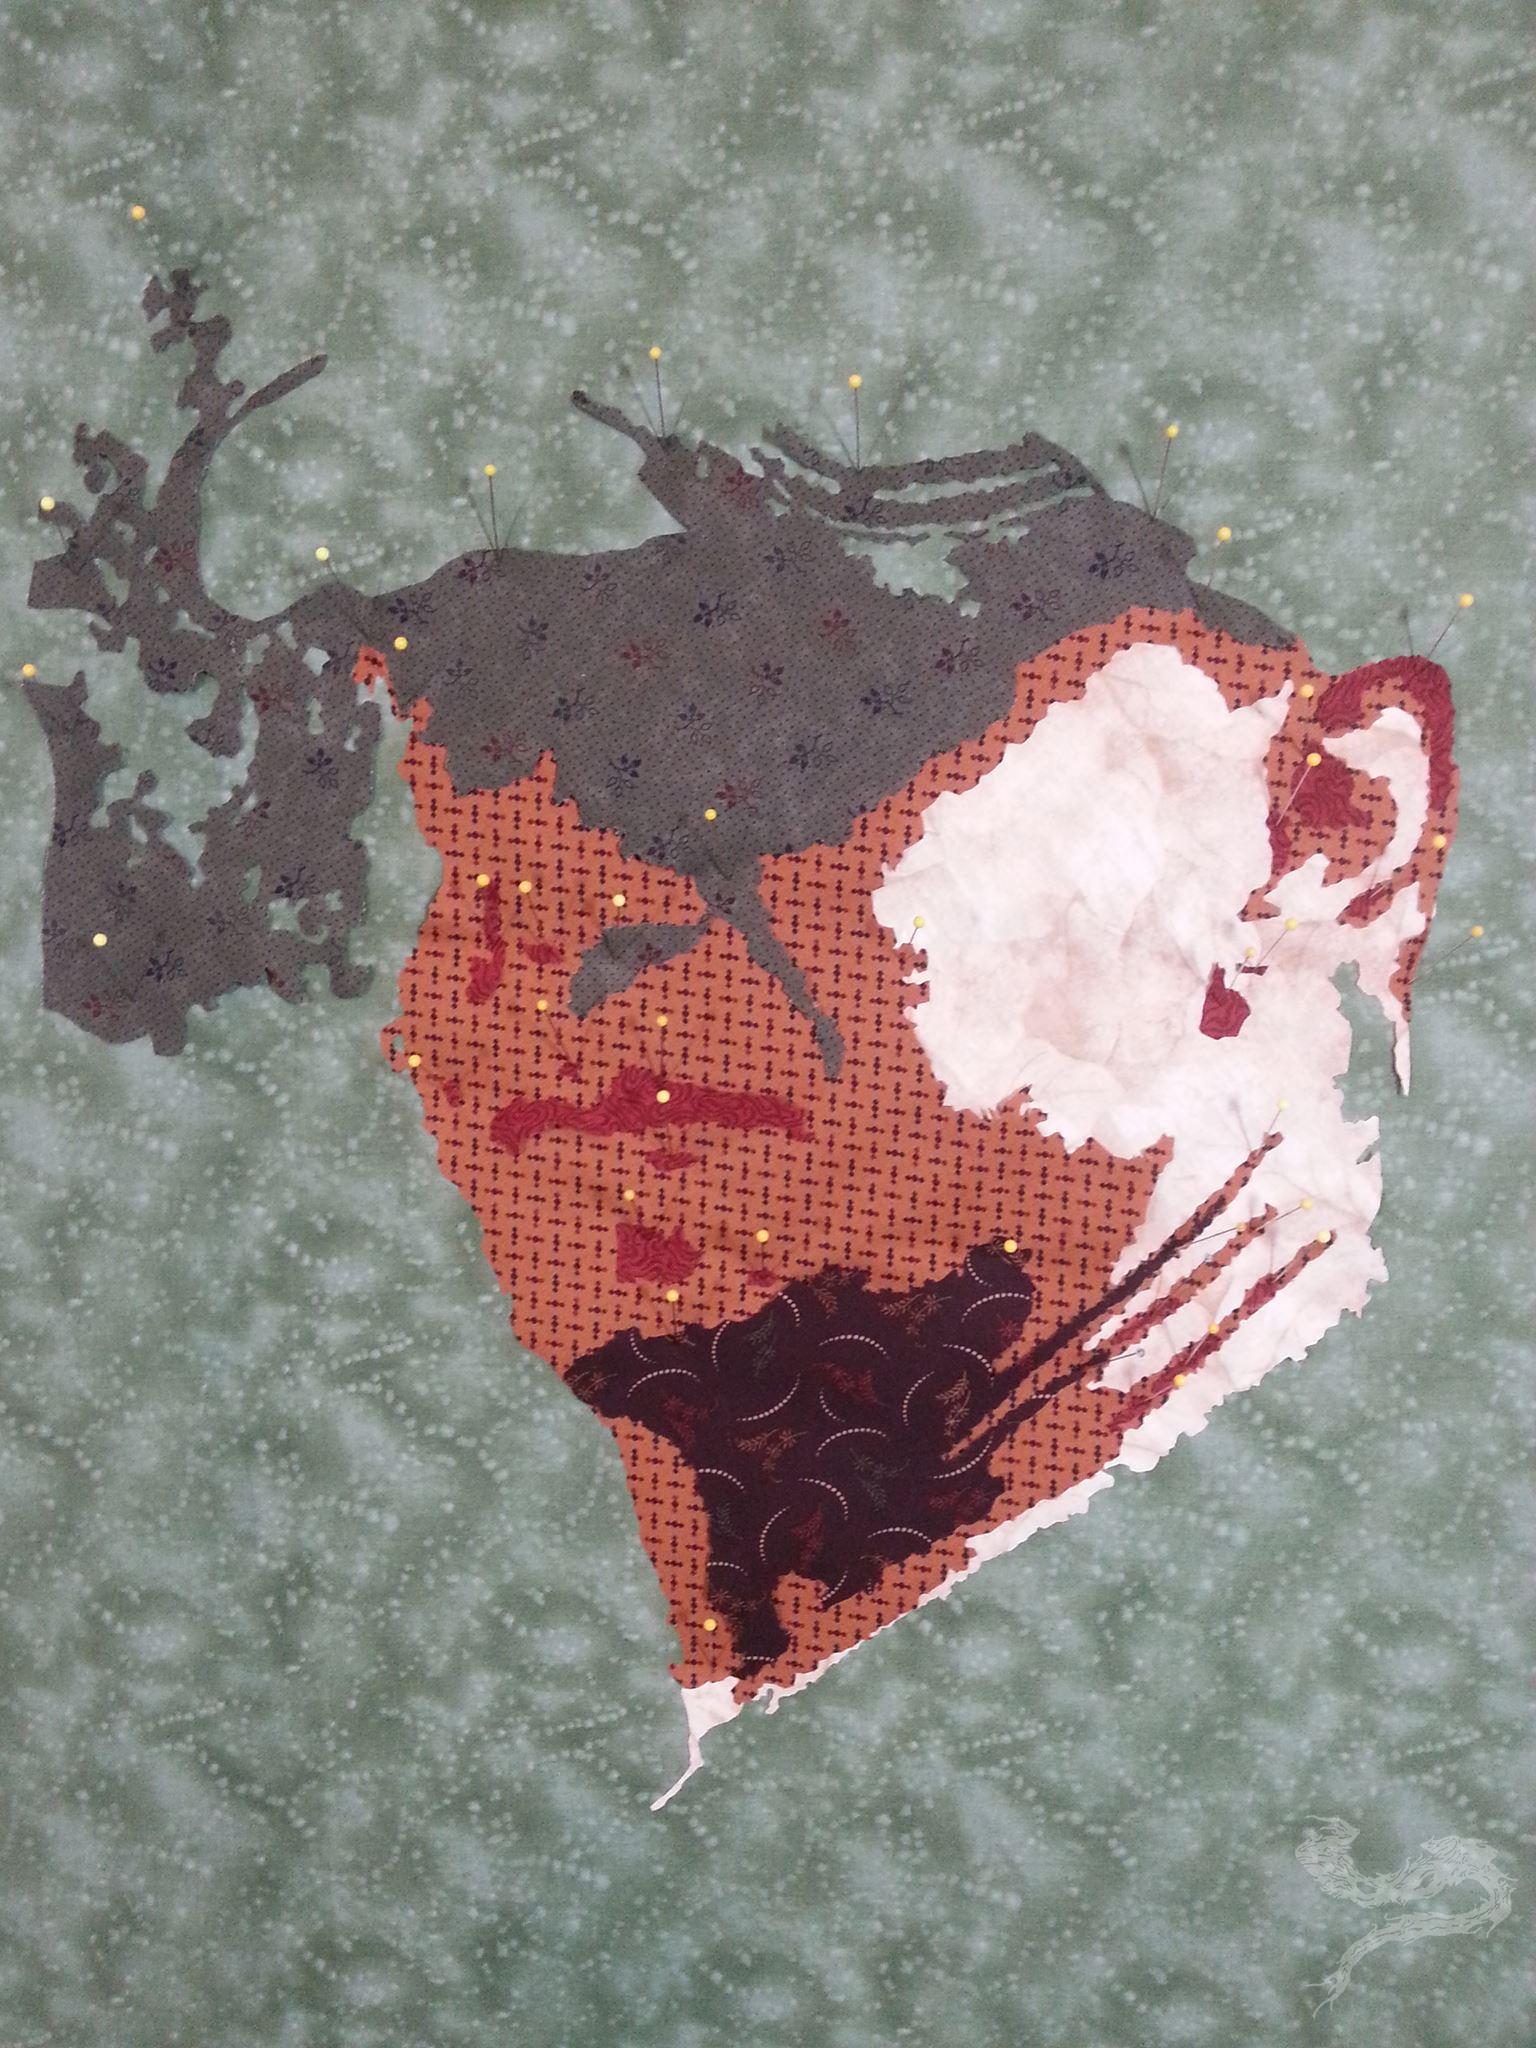
I wasn’t too keen on the shadowing for the eyes, but this was the fabric I had available. I kept moving, but this seemed “off”. I’d come back to it, once I’d gotten the rest of the main pieces in place. Until then, it was a temporary fix.
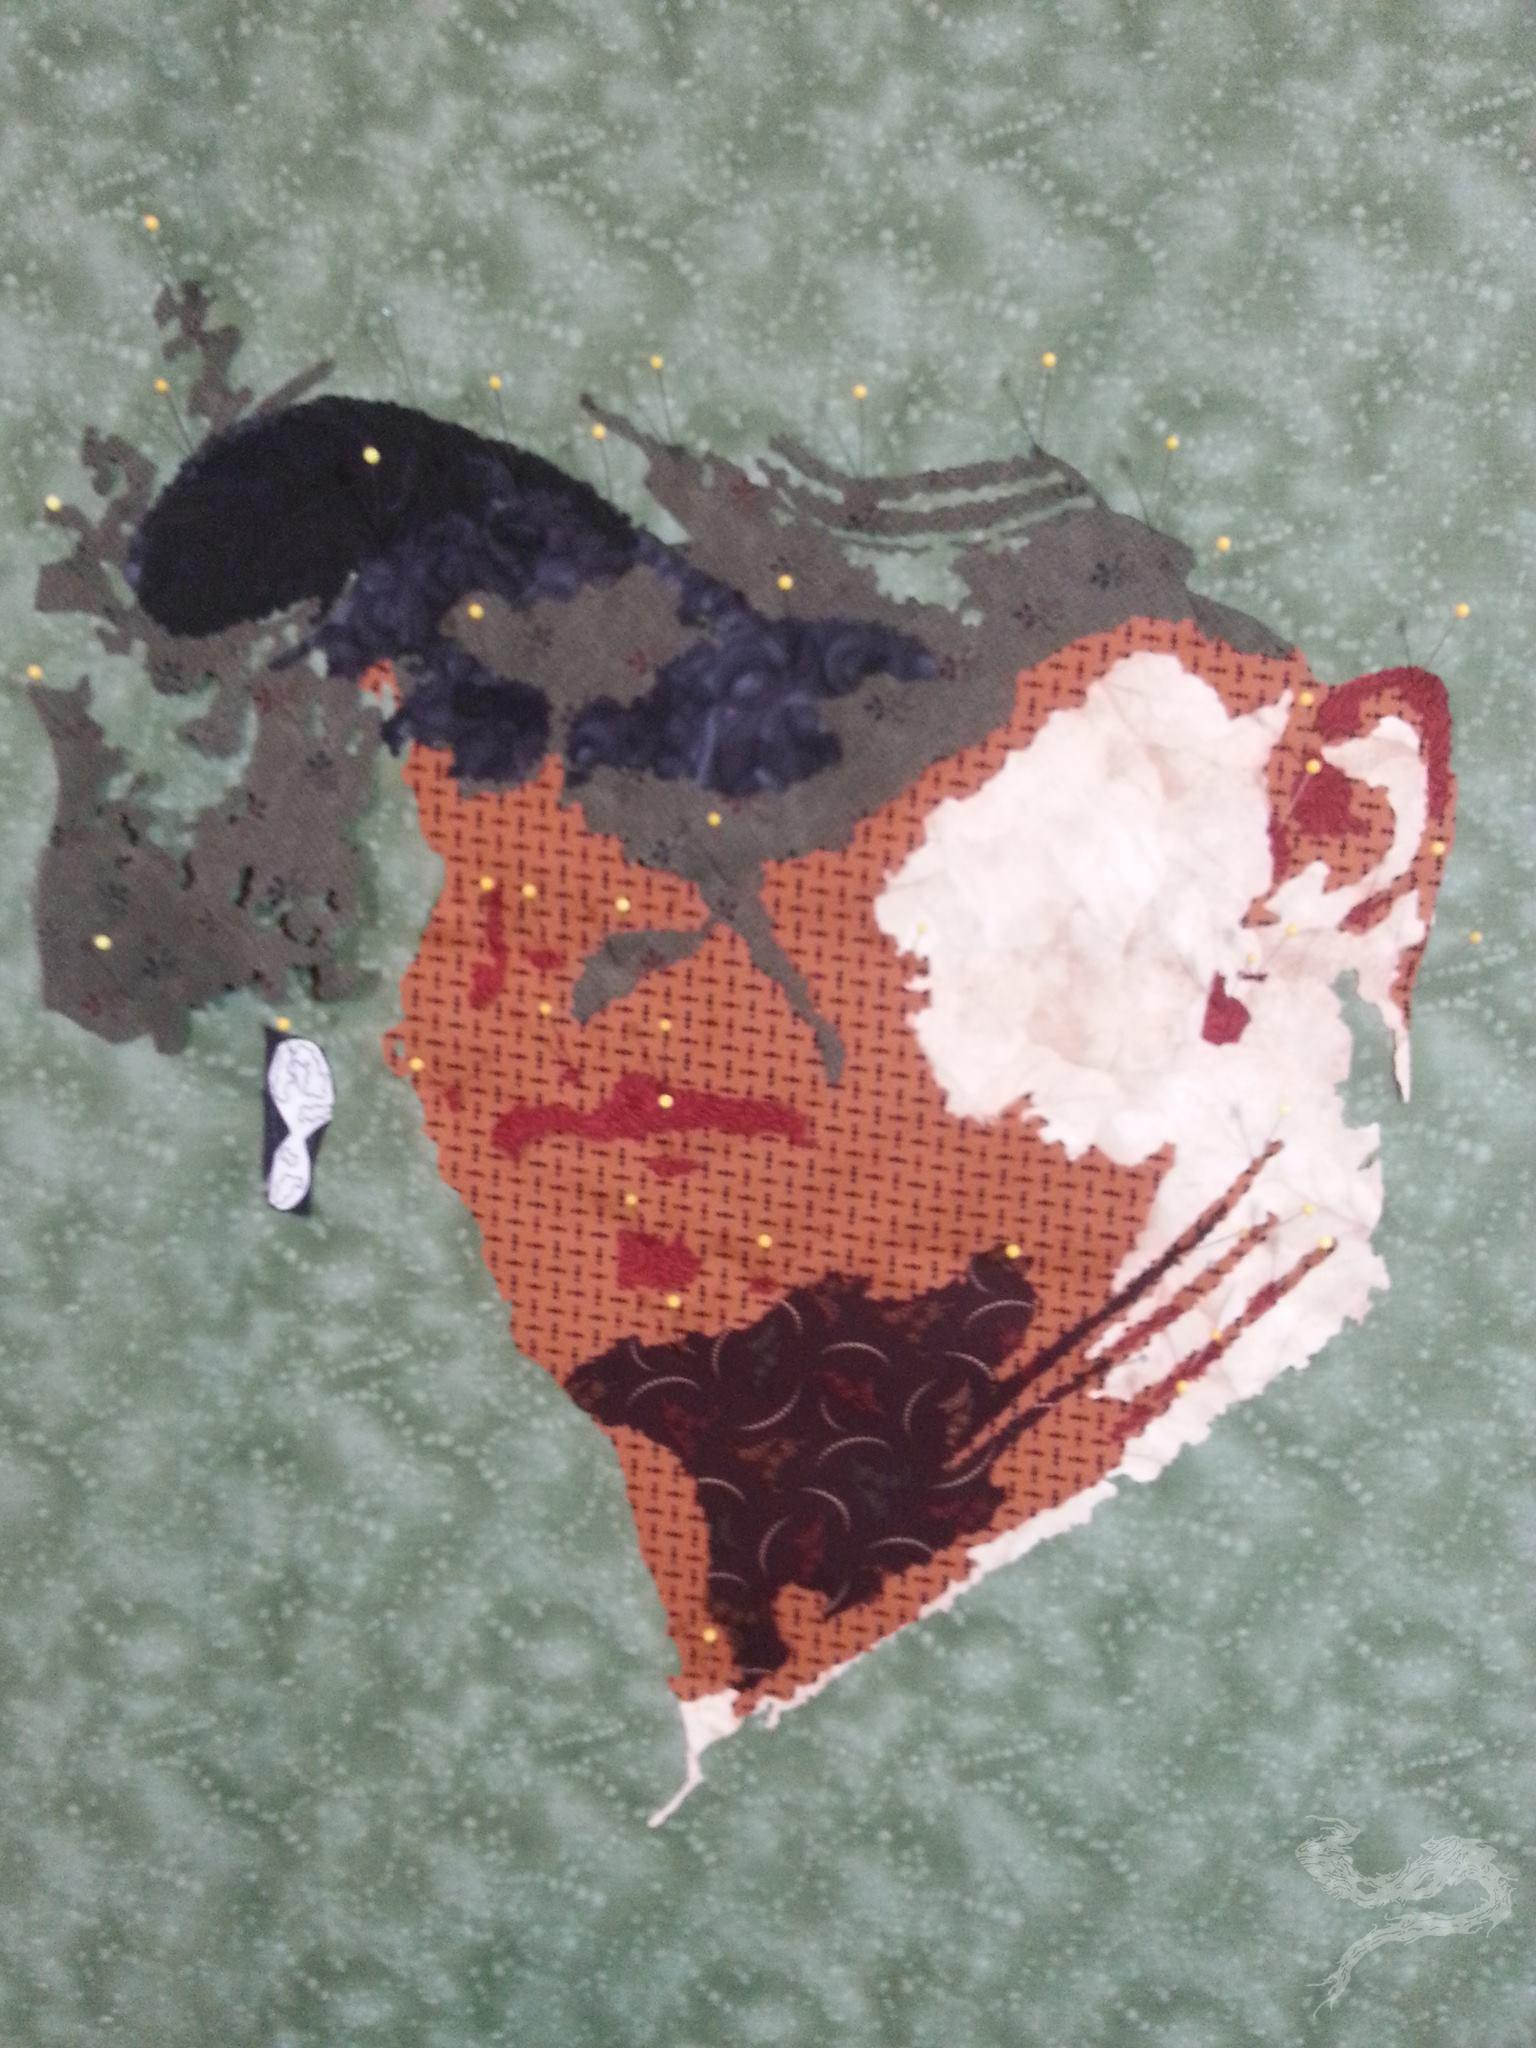
The baseball hat was starting to come together quite nicely. If I’d put more detail in, you’d have seen where the quilt title came from – the patch on the hat. (It said “Bite Me”) I, jokingly, told my friend that I’d name the quilt after his hat. He agreed. The title stuck.
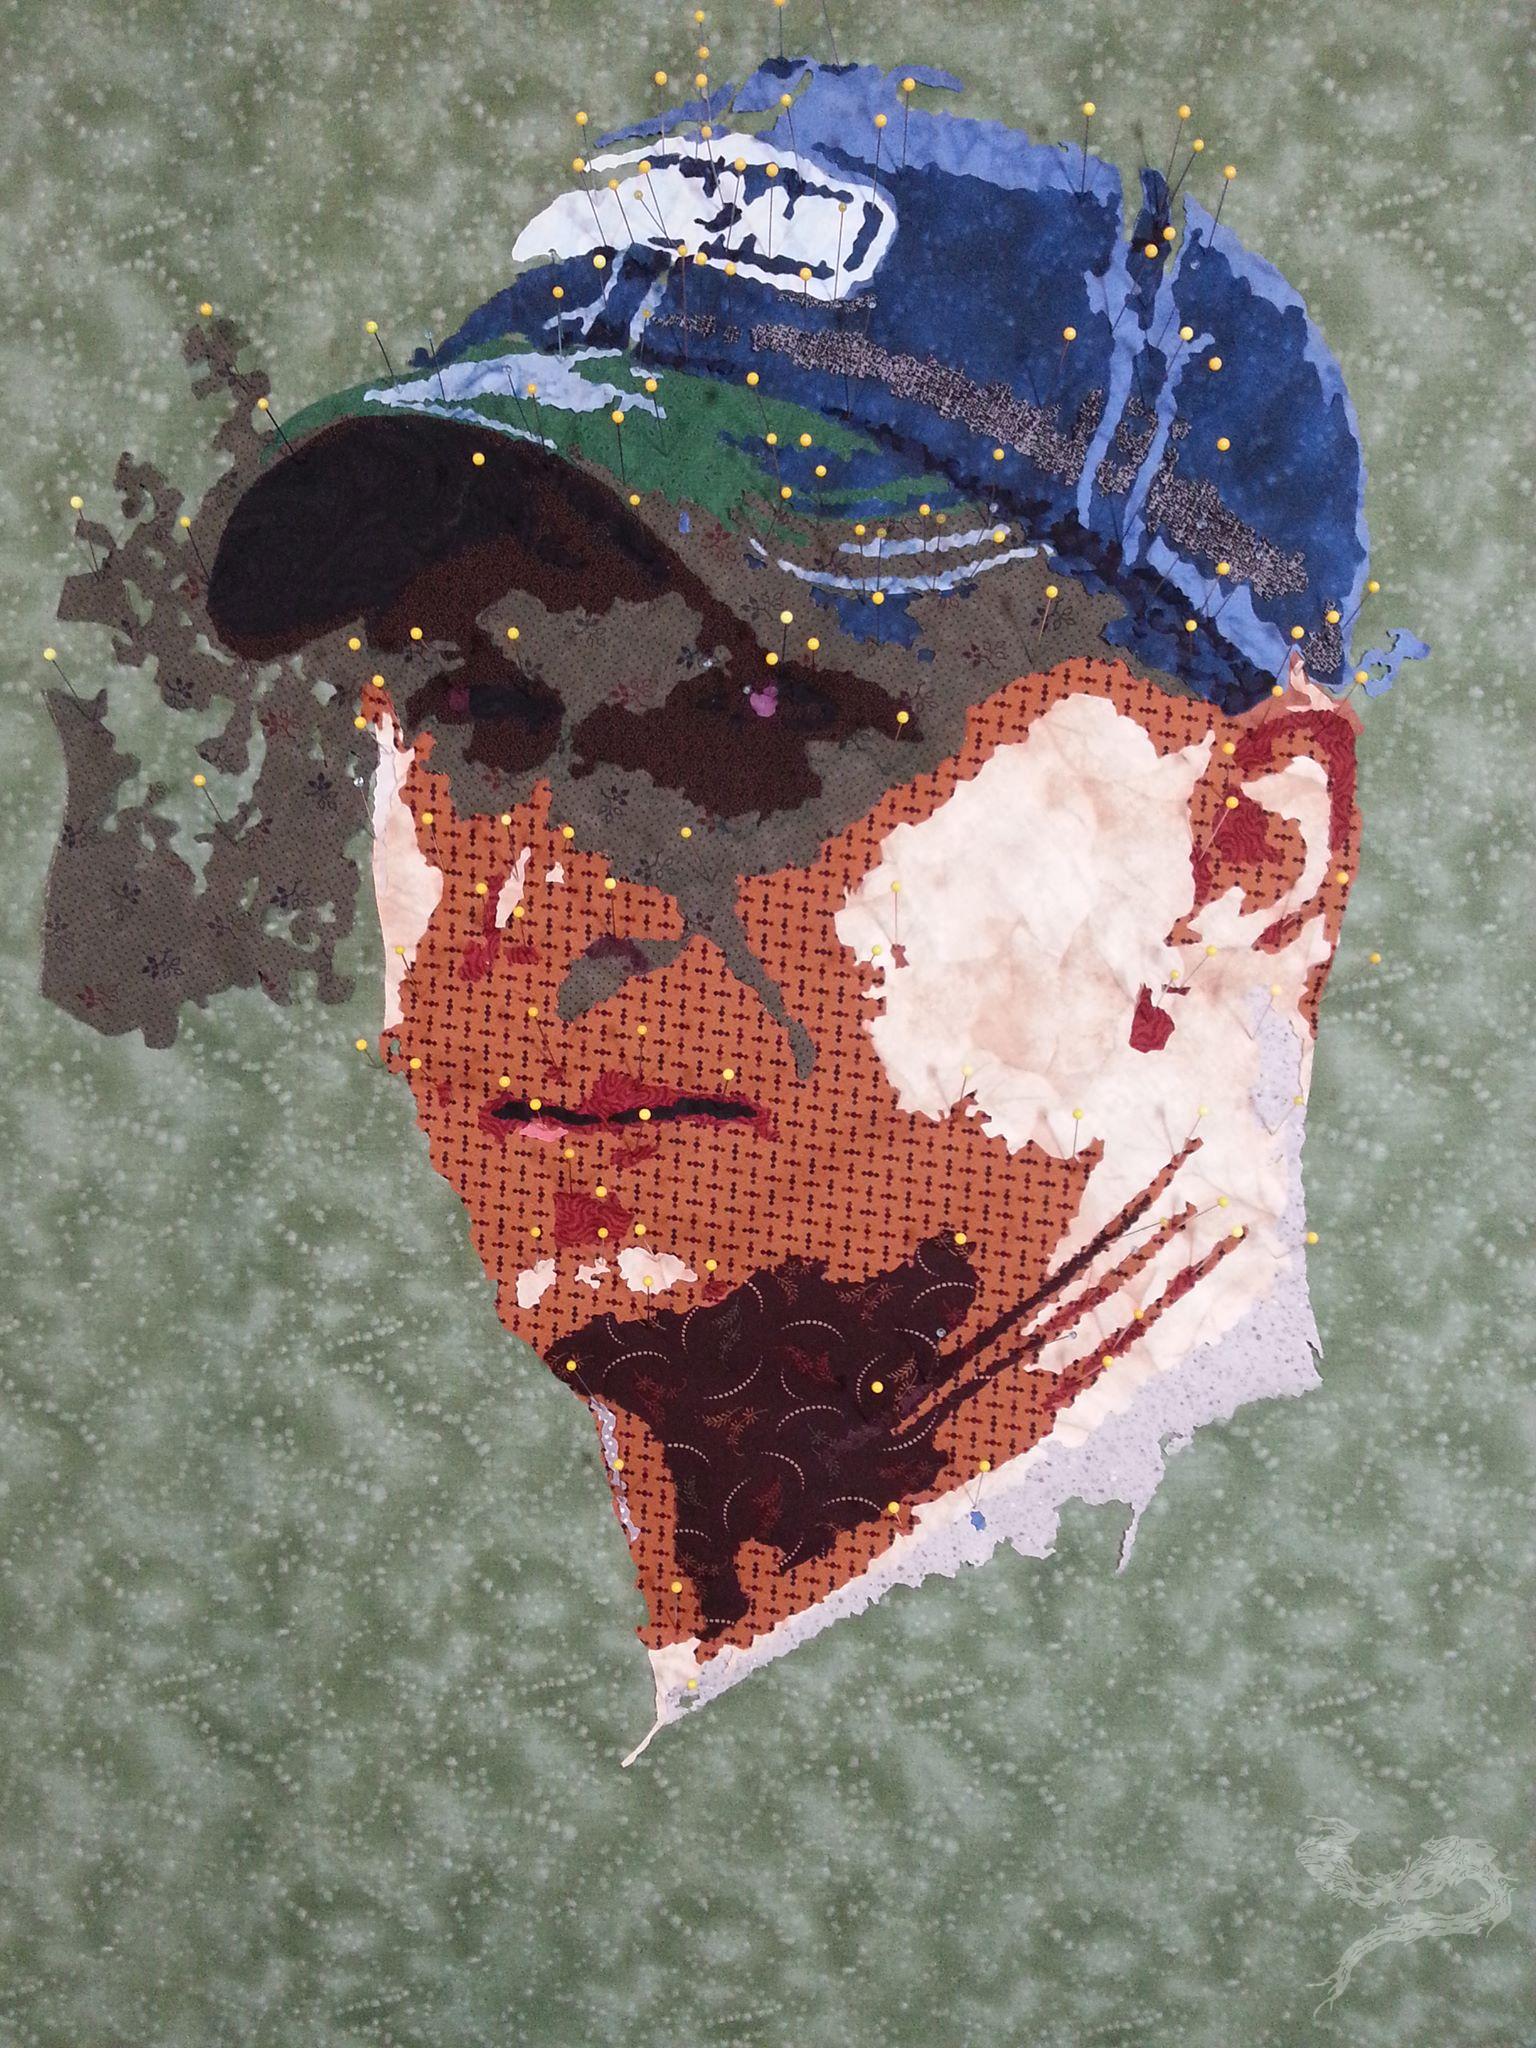
12+ hours later, including 5 hours for rework on the eyes, I was a lot happier with the day’s work. I still had a ways to go, but I was definitely on the right track.
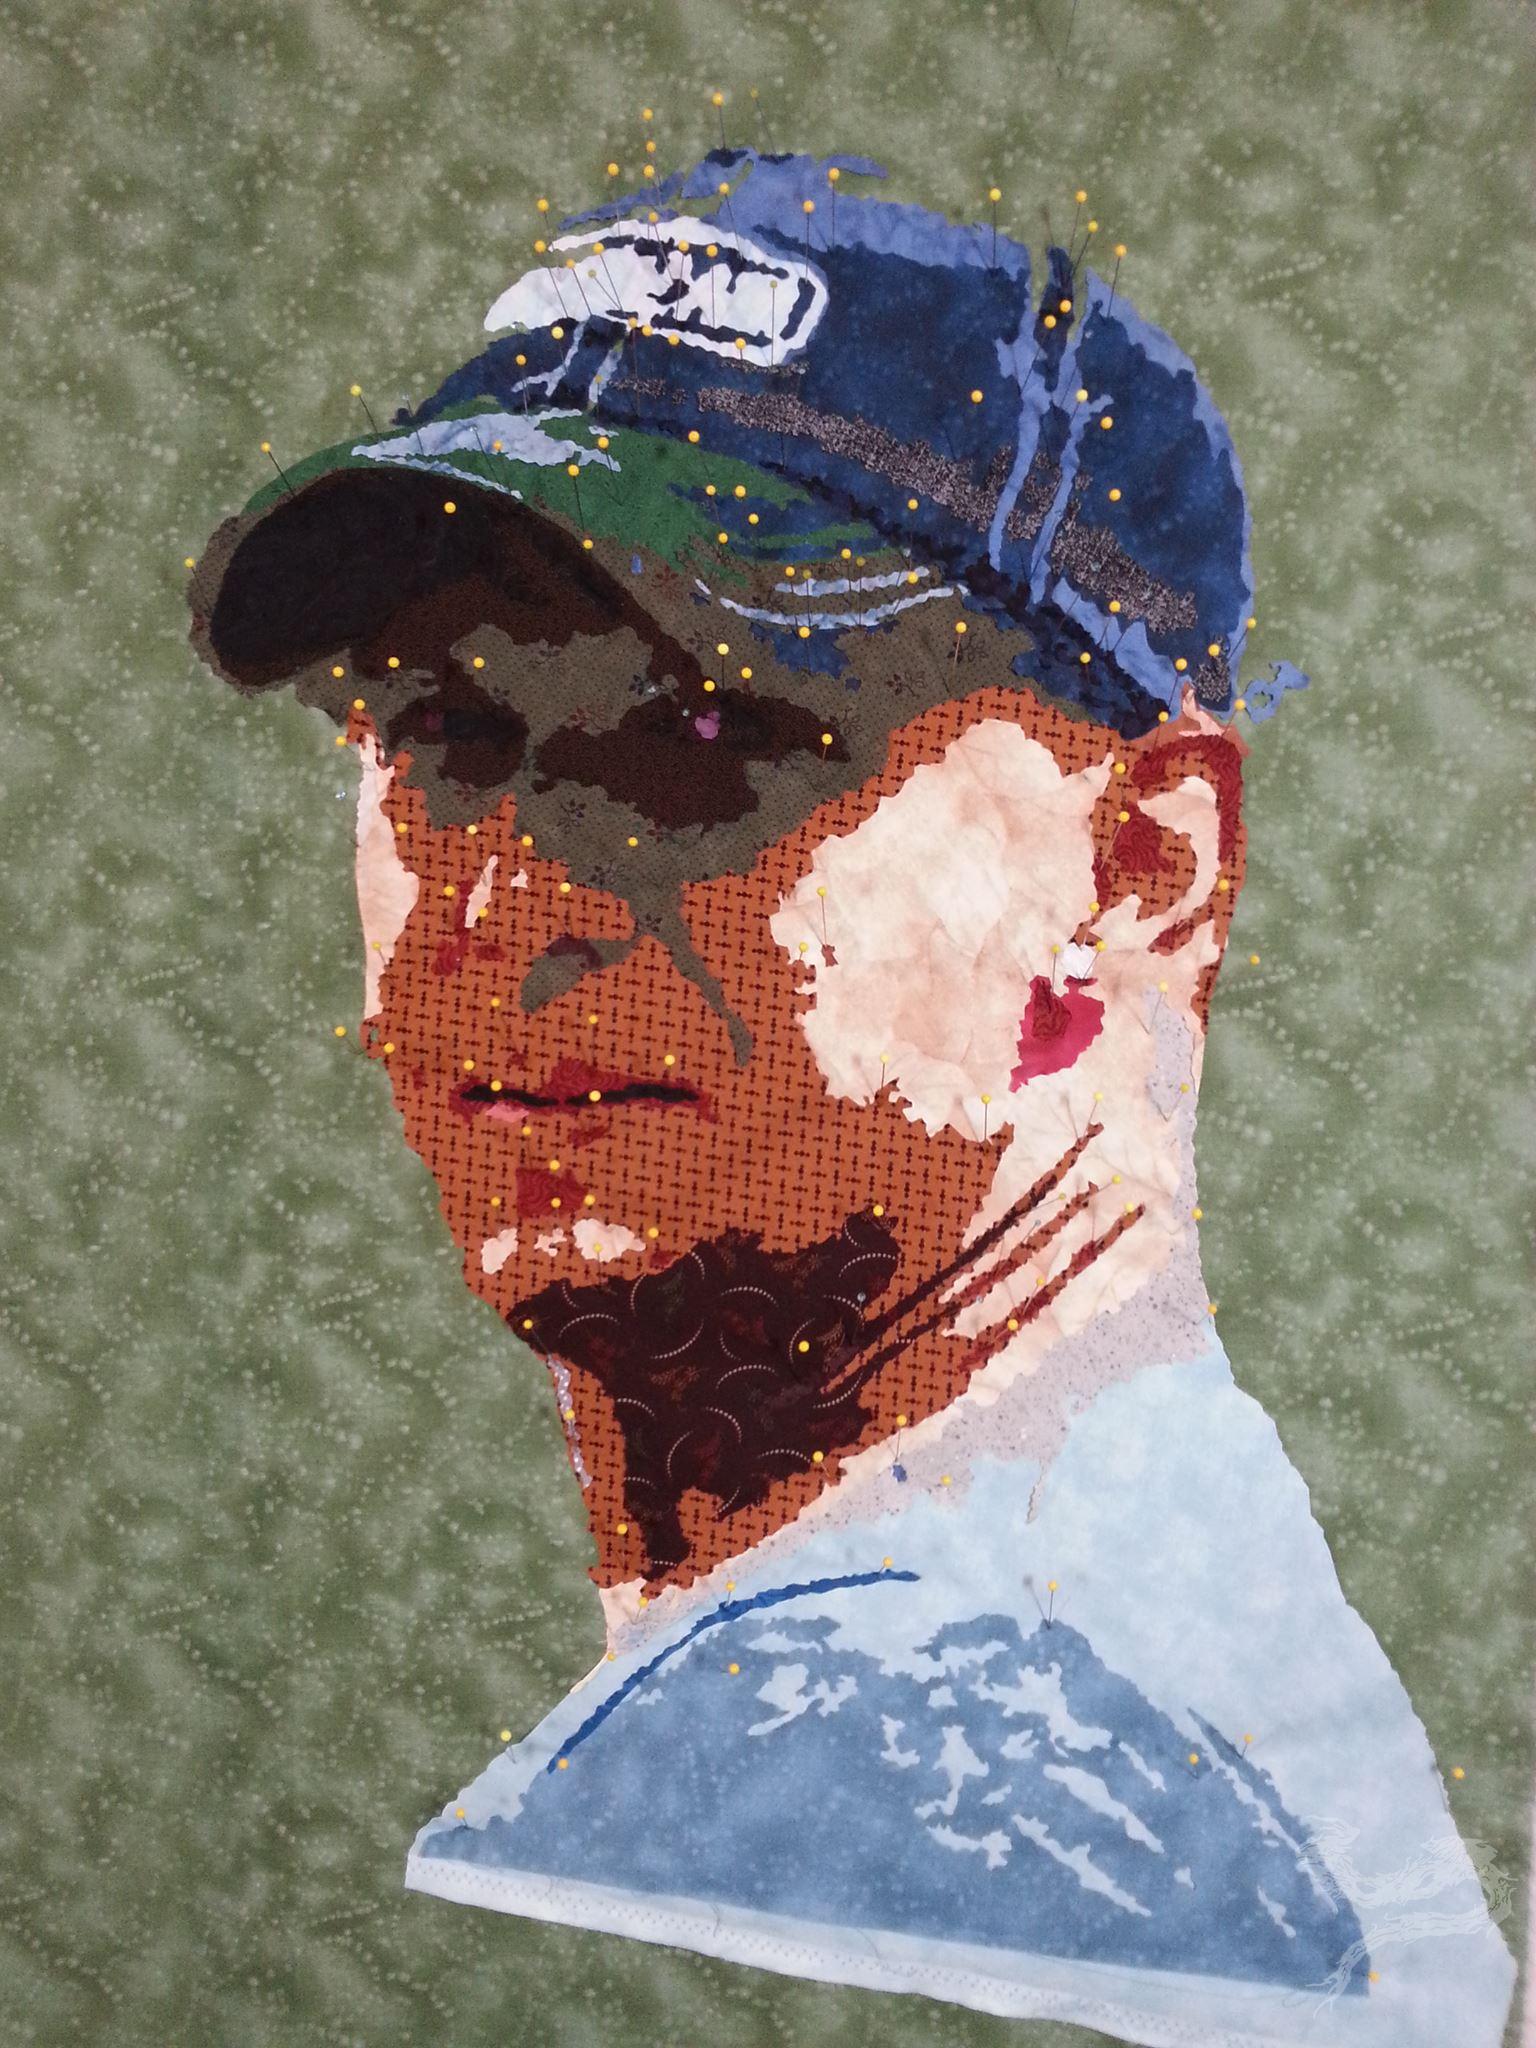
It took a little bit of clean-up, and a little bit of fussing with some of the pieces, before I was ready to start fusing pieces down and pulling the pins.
Oh, yeah. I had my friend’s face on my design wall. I was pretty tickled to see it. The next part would be the deciding factor on the finished size. I still wasn’t sure if I wanted to put a border on it, as it seemed so ‘small’ when compared to the other pieces I’d made. Having tried out a few different options, I didn’t like anything I was seeing. Well, I hadn’t made one without a border, maybe it was time to start.
A bit of trimming here, a bit of cutting there, and I was almost ready to start putting the quilt layers together. I still needed to quilt it. I didn’t have a definite idea as to what I wanted the overall texture to be like, so I was playing with free-motion quilting. Meaning: I dropped the feed dogs (the little gripper feet that feed the fabric through the sewing machine), and was having fun sliding my quilt sandwich all over the place. I knew I needed to make sure the smaller pieces had a couple of stitches in them.
I should have paid more attention to what was happening with the back of the quilt, but I was busy enjoying the process. Right up until I cut the last threads off slide the quilted piece out from under the needle. Oops. Well, there was another “opportunity for creativity” waiting to happen. My backing fabric had gotten caught in several unattractive ways, and there was no way I’d be able to salvage it.
Hmmmm… How to fix this. Well, the finished quilt size was going to be a blessing for me. I put a second backing over this and hid the mess I’d created inside. That’ll work!! With it being a small (for me) wall hanging, I didn’t have to worry too much about whether or not the back would be seen.
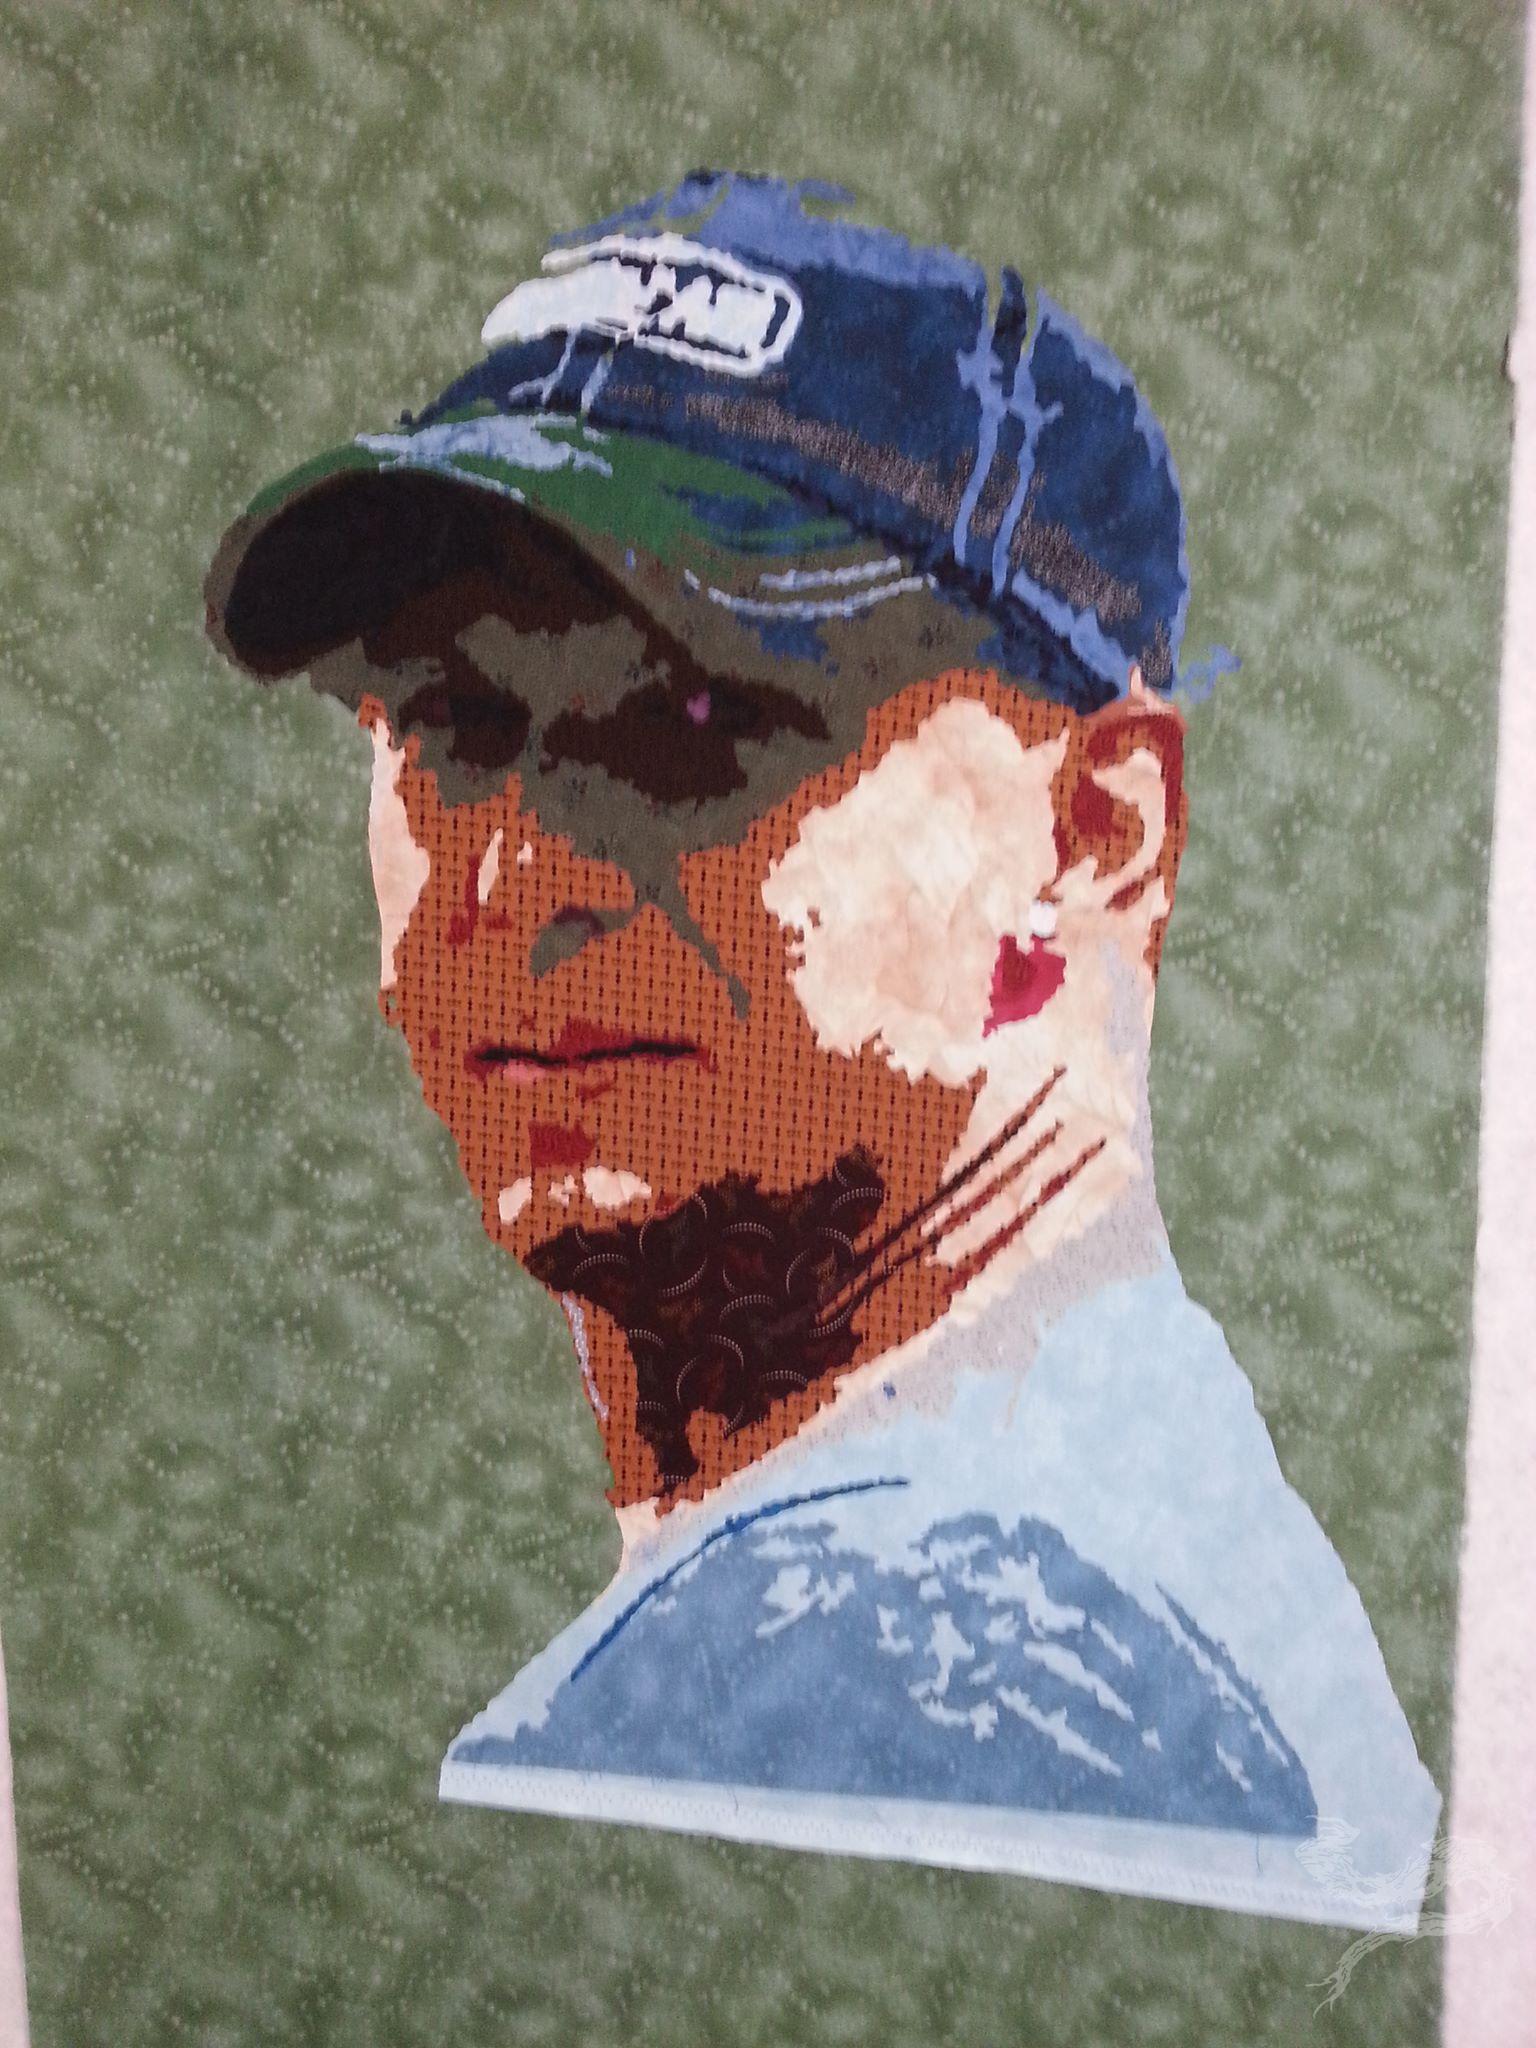
Almost 8 days from when I first put the background fabric on my design wall and taped my base pattern to my light wall, I had a finished art quilt on my hands. The best part? I had an entry for a fabric challenge. (Fabric challenges were something I used to shy away from. No, I have no idea why. I just did.)
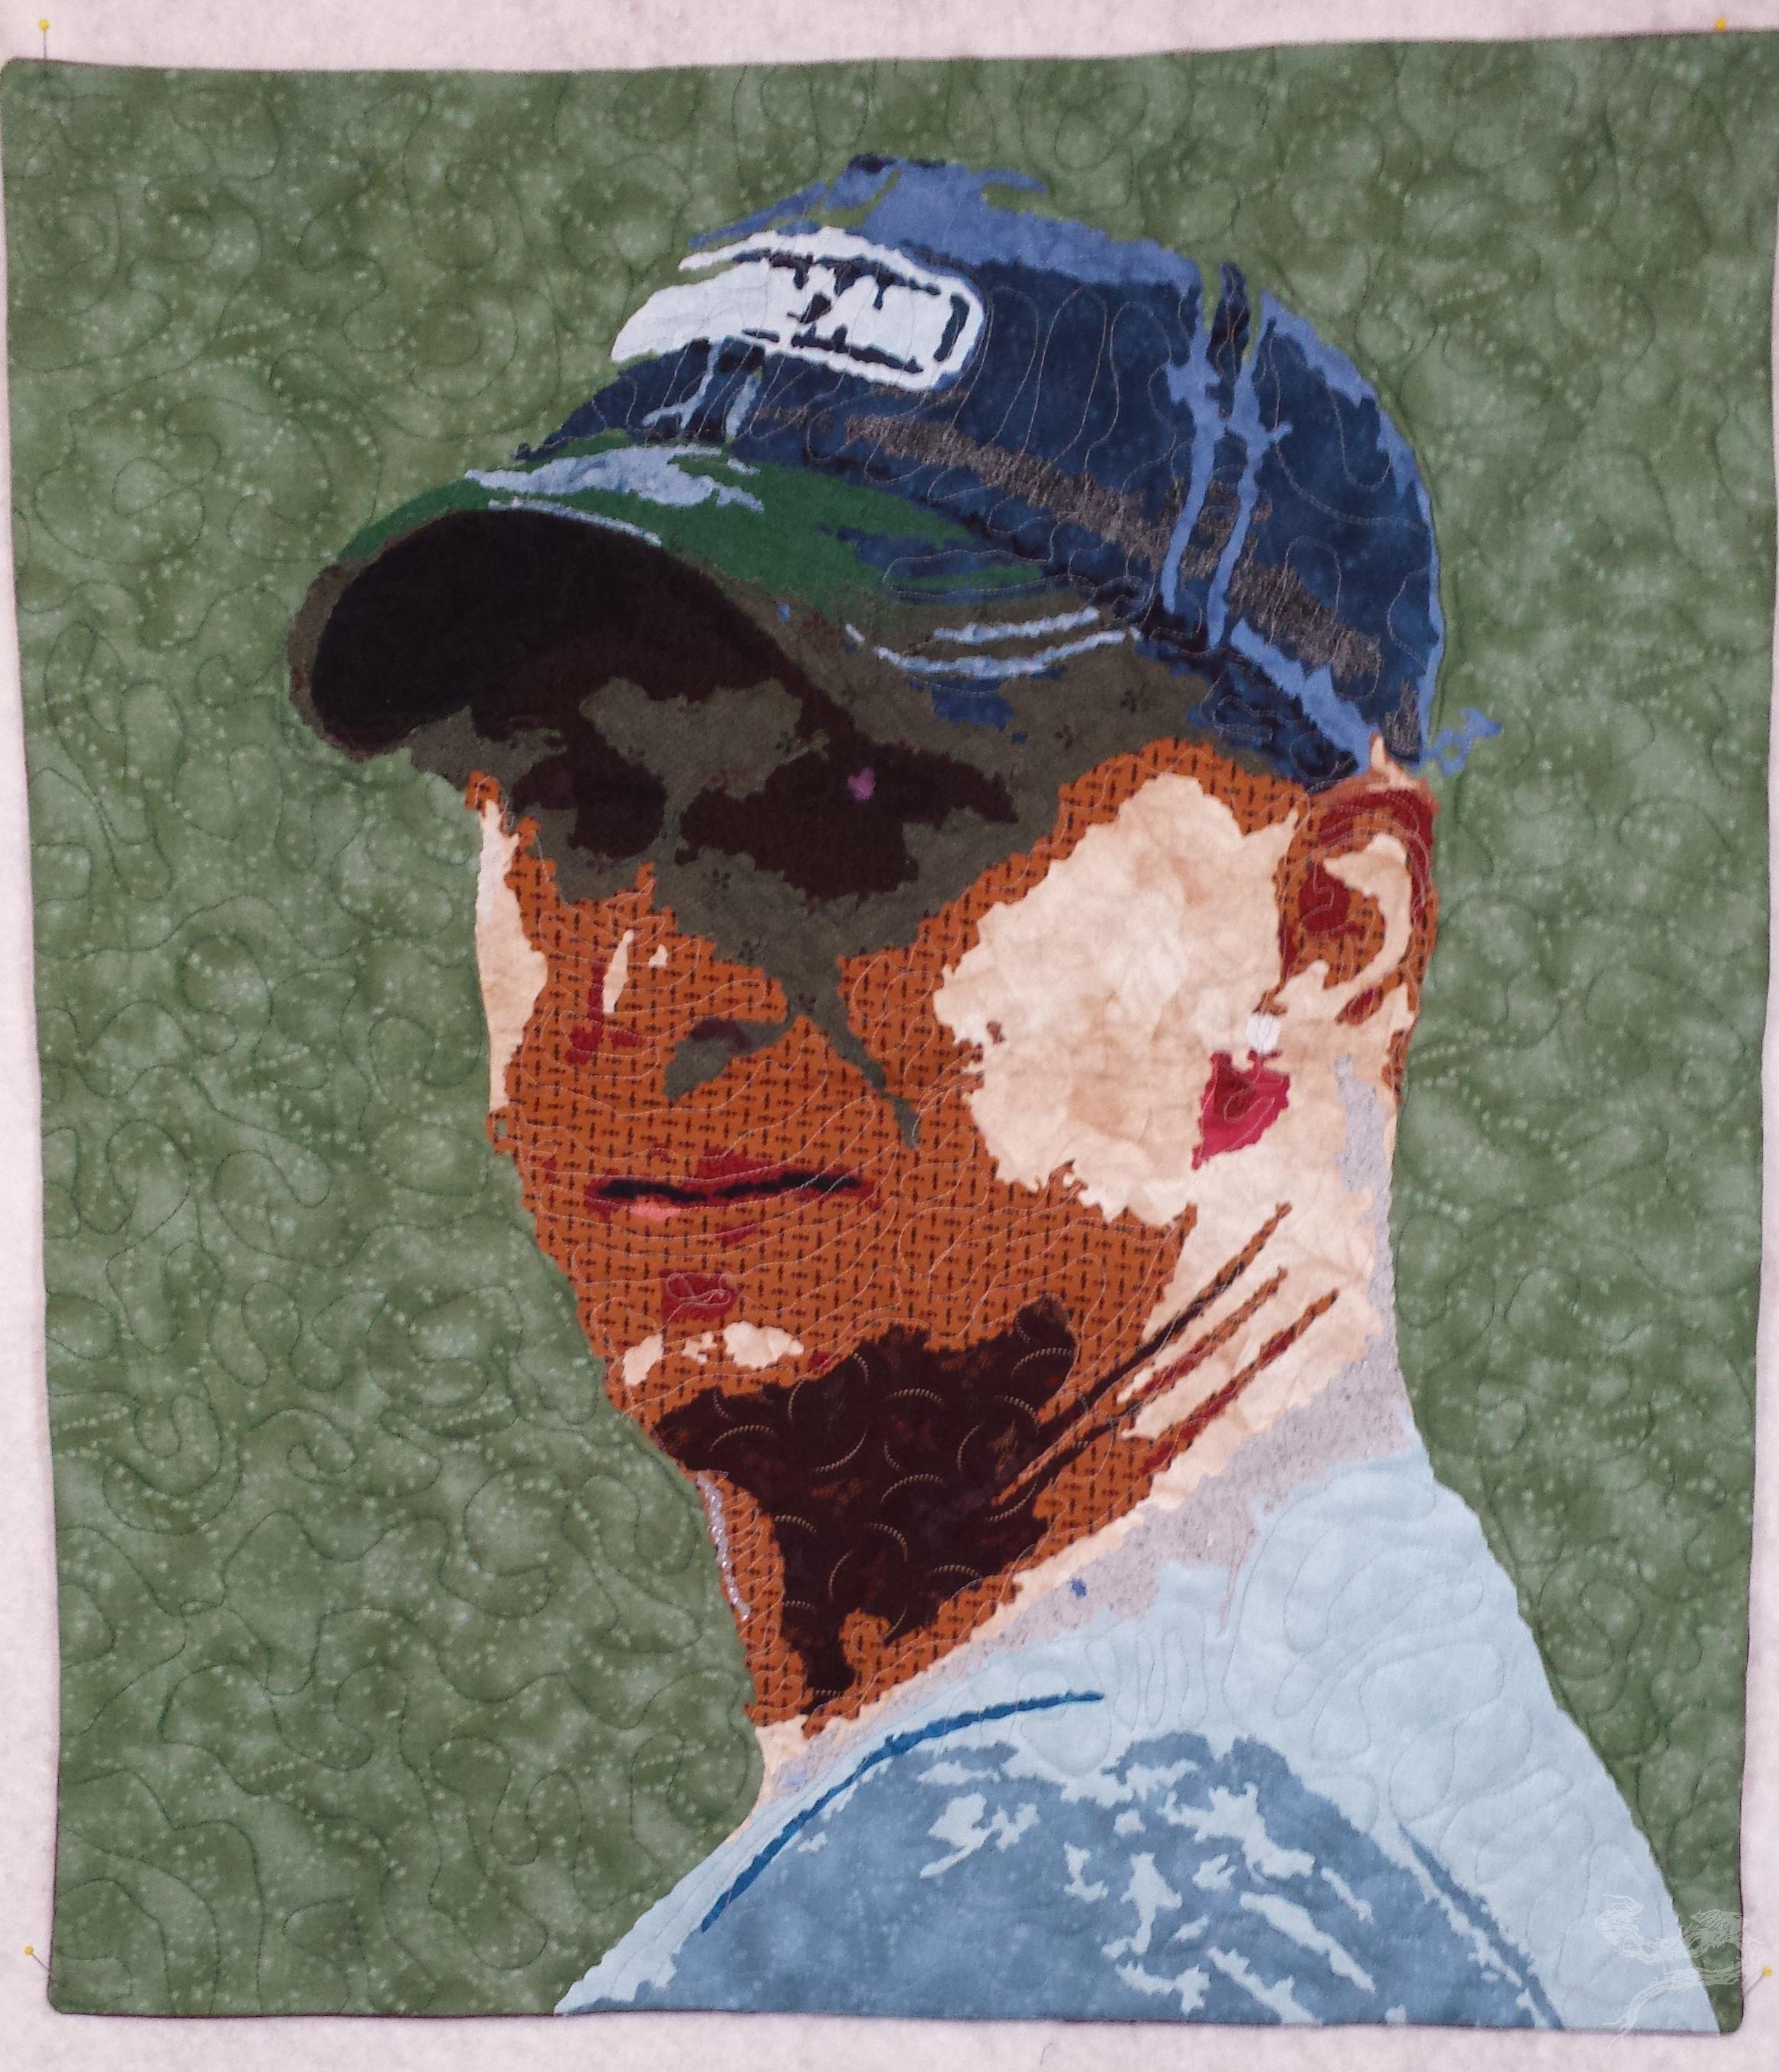
Bite Me
Finished size 25 inches by 28 inches
Completed September 14, 2014
Raw edge applique, machine quilted
Cotton fabrics, cotton/wool batting
Recent Comments